As my regular readers already know, this summer my preschool did a few activities where we explored color theory. Our first activity we used home made play dough to mix secondary colors. Our second activity we used colored white vinegar to mix our primary colors. Today I want to share with you our final color mixing activity.
To begin this lesson I reviewed with my preschool students the three primary colors we can use to create secondary colors. Students again identified the colors red, yellow, and blue and practiced finding the same colors around the room and on our clothing.
If this is your first time, please join me regularly via E-mail in the right sidebar, Facebook, Twitter @StayAtHomeEdu, and Pinterest. For your convince, I have included some of my favorite products and resources related to preschool art. Any purchase of these products goes directly to maintaining this blog.
I then explain to the students that we were going to explore color mixing some more, so we can make the colors orange, green and purple. I asked each set of students (every two students shared a paint palette) to decide on two primary colors they would like to use and mix for their project, and handed out extra large sheets of white construction paper to each student.
For this activity, I gave very little instructions. I simply told the students that I wanted them to use their fingers and hands to mix the two primary colors they had selected on their paper, thus making a new one. That’s it. Now, some of my students asked questions like, “Can we make hand prints?” Yes. “Can we use a paintbrush?” No. My only expectations for the students were to use their hands and fingers, and to do all the mixing on their paper, not their palette.
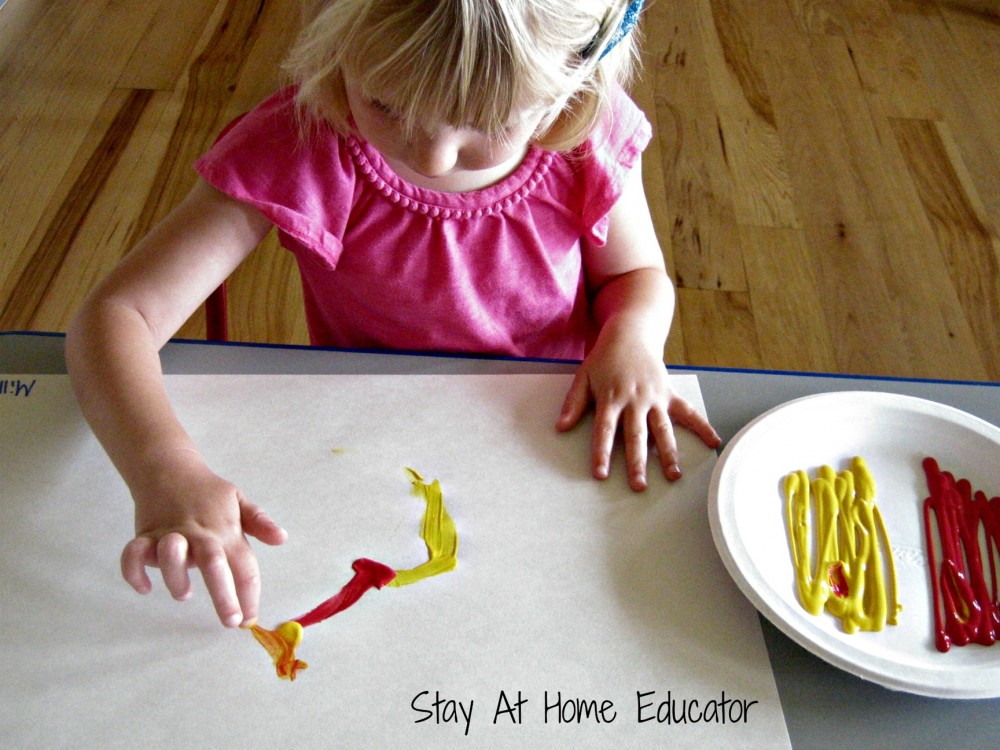 This student began by very daintily using only her index finger to paint lines of red and yellow, with no initial mixing.
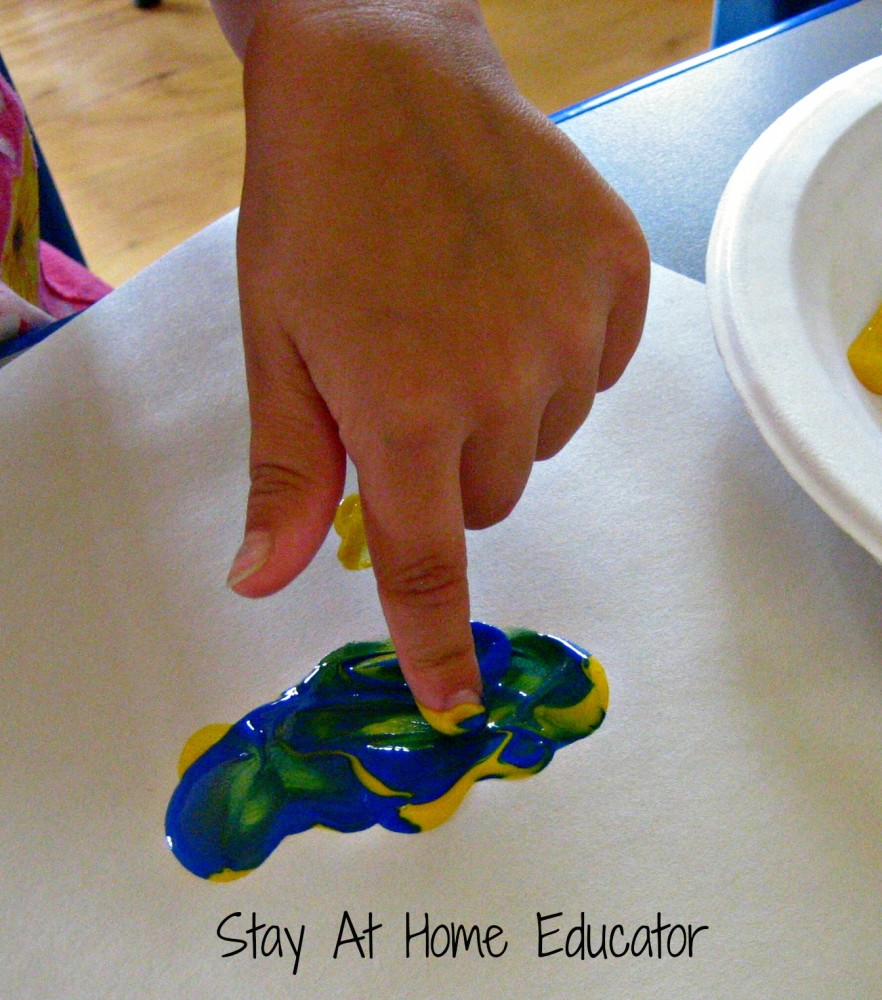
This student used her finger to add globs of paint onto her paper and then mix. She was pleased to discover that yellow and blue happen to make her favorite color: green.
Corinne used her fingers to “paint” her other hand so she could make hand prints.
Most students opted to paint with their entire hand, or hands as the case was for a few students, layering multiple hand prints atop one another. I loved watching the progression in some of the pieces where students began with hand prints that were all one primary color, but after repeated hand printing they soon ended up with prints of secondary colors.
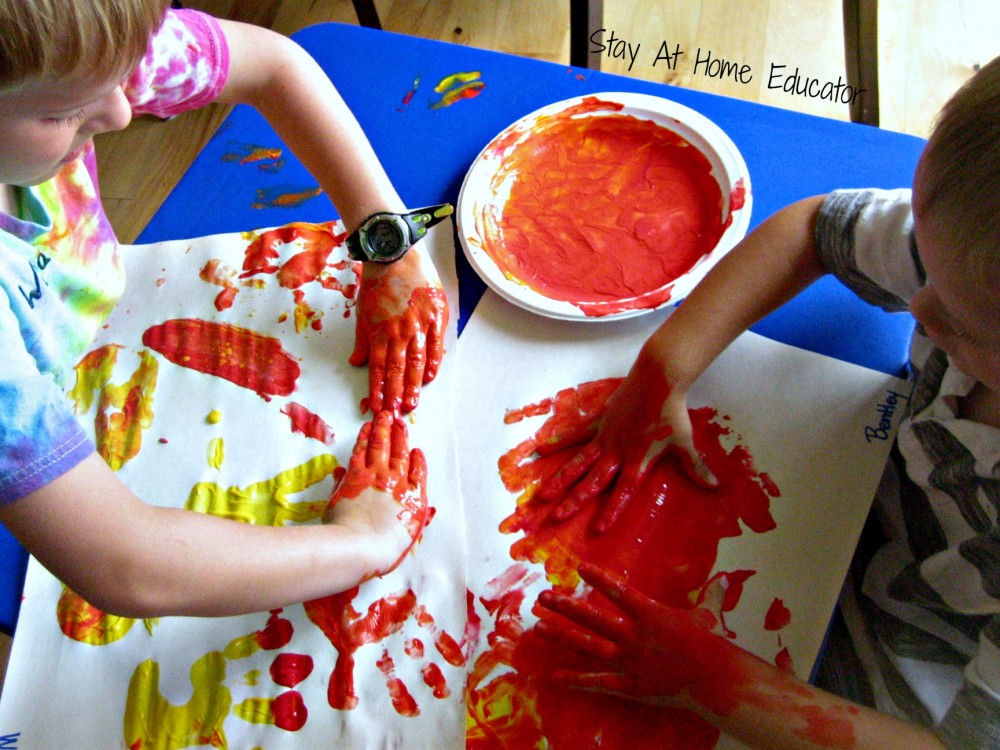 And a few students opted to make hand prints on their paper and then smear the gooey paint around to mix their secondary color.
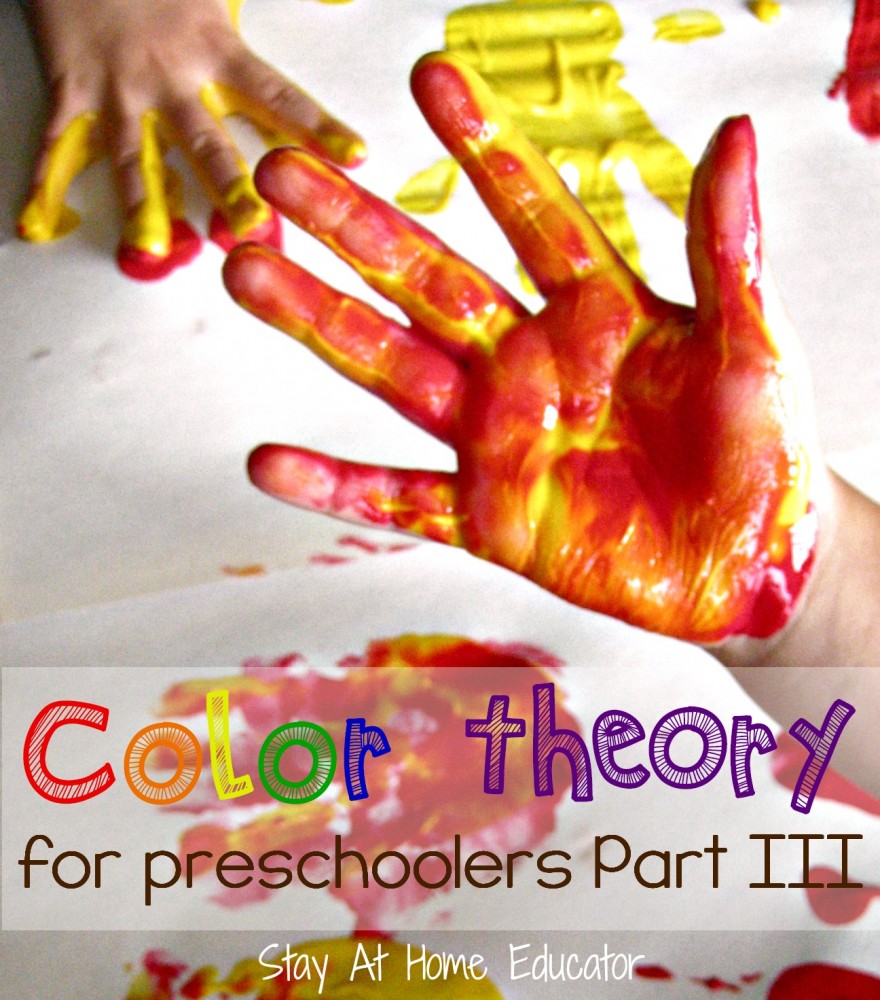
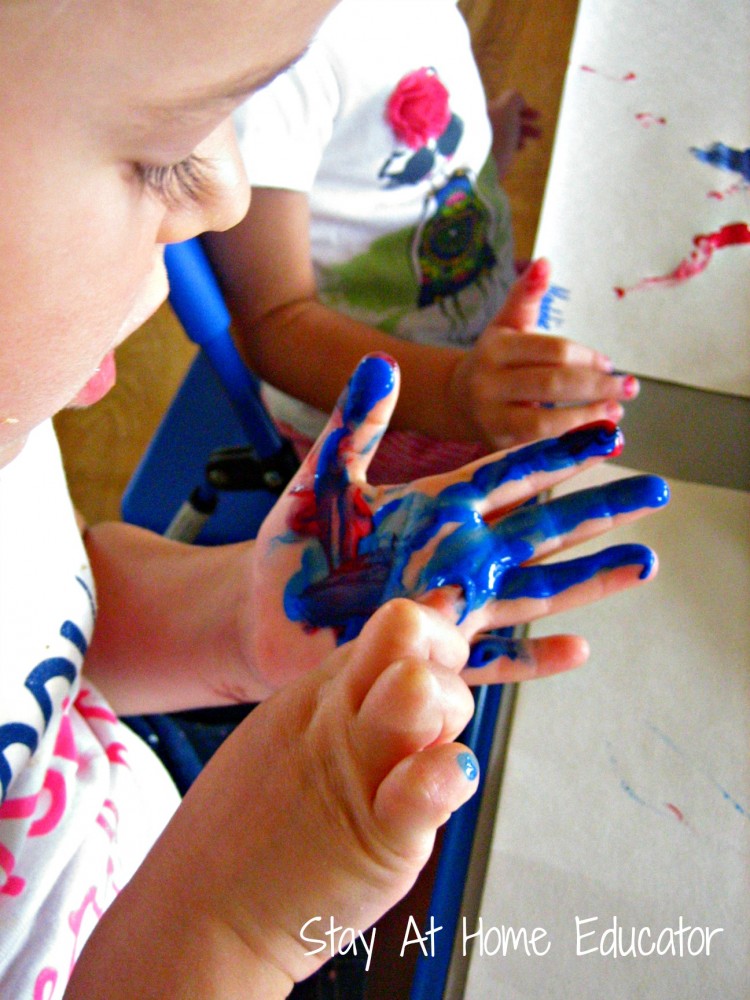
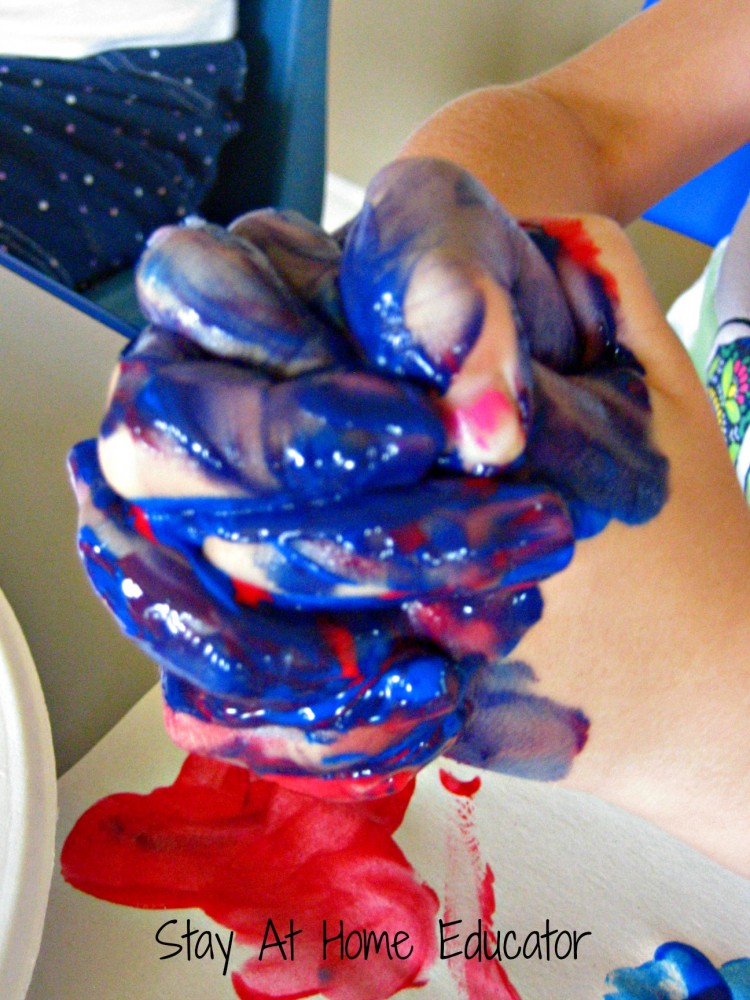
By the end, each student’s hands looked like this, which was wonderful and part of the intended process. Once it was clear that the students were finished and had exhausted their interest in the lesson, I directed pairs of students to make their way to the bathroom with their “hands up in the air” to wash up. I placed the artwork in the oven on the lowest “warm” setting (170° F) to encourage them to dry more quickly.
After some outdoor playtime the childrens’ artwork was dry enough to handle. We reconvened in a circle to share our color theory artwork. As each student showed his or her artwork, I challenged the class to figure out what two colors that student began with and to identify what color that student ended up with. We organized the papers on the floor according to like colors to discuss if each student ended up with the same results. I was amazed at how specific some of the students were in their explanations and was so pleased with the results of this lesson!
Enjoy!

I’m Sarah, an educator turned stay-at-home-mama of five! I’m the owner and creator of Stay At Home Educator, a website about intentional teaching and purposeful learning in the early childhood years. I’ve taught a range of levels, from preschool to college and a little bit of everything in between. Right now my focus is teaching my children and running a preschool from my home. Credentials include: Bachelors in Art, Masters in Curriculum and Instruction.


[…] shamrock color sorting printable activities are a fun way for young children to practice color recognition and sorting while also working on their fine motor skills. This free rainbow printable […]