This week we have been learning about butterflies and it’s one of my favorite topics! There are so many beautiful butterfly books to read, so much to learn, and of course, lots of beautiful art and craft activities to go along with a butterfly theme. While it’s always easy to fall back on the traditional butterfly paintings (we do love these!), I thought it would be nice to try something a little different. This butterfly stamping process art activity turned out beautiful and was a huge hit with the kids. We have done a LOT of these since these photos were taken!
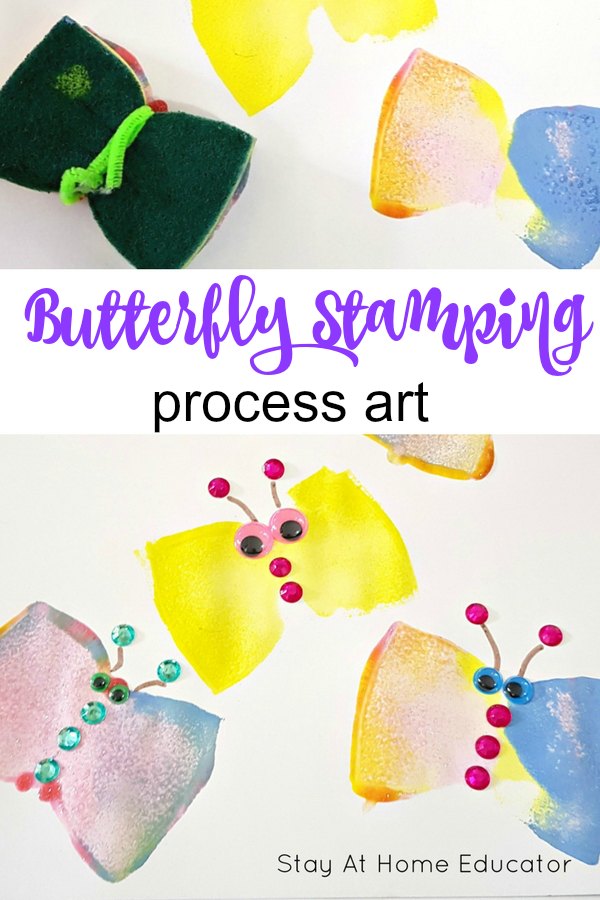
Butterfly Stamping Process Art
When we set up this activity, I was looking for an art activity that didn’t have too much adult input. We did this with a group of 3-6 year olds and it was great to see that they could all do this independently (with a bit of help for the fiddly bits!). Because it’s a process art activity it was great to see that every butterfly looked different, and the mixing of the colors produced some excellent results.
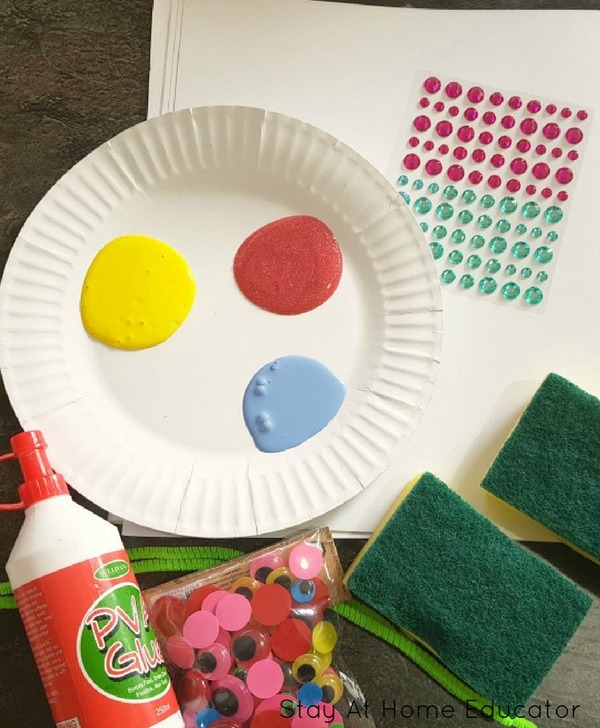
This activity requires very few materials and you can easily do this as a large group activity without having to spend much. The sponges I used cost me $2 for a packet of 4 and the googly eyes and adhesive gems were a few dollars for each packet.
Materials Required
- Sponges
- Chenille Stems
- Poster Paints in assorted colors
- Adhesive Gems
- Googly Eyes
- Glue
- Marker Pen
- White Paper
- Plate or tray for the paint
Instructions
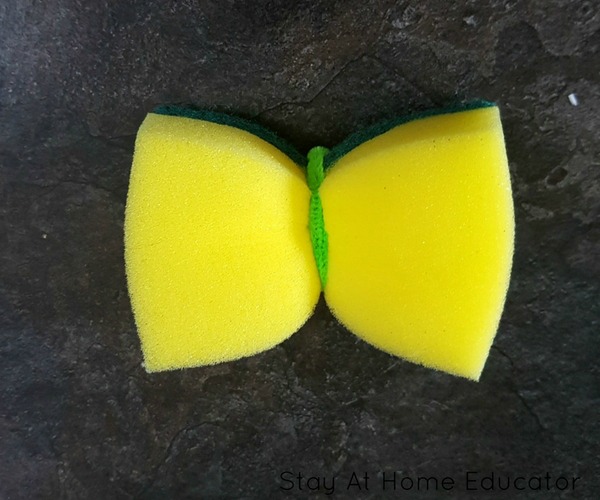
This is a really easy activity to set up. To make the butterfly shape out of the sponges, you need to tie the pipe cleaner tightly around the middle of the sponge. Then you need to put out your paints and you’re ready to go!
Dip the sponge into the paint. Encourage the children to mix the colors as it makes a great effect. Try to avoid using colors that mix to form brown – lighter and brighter colors work the best.
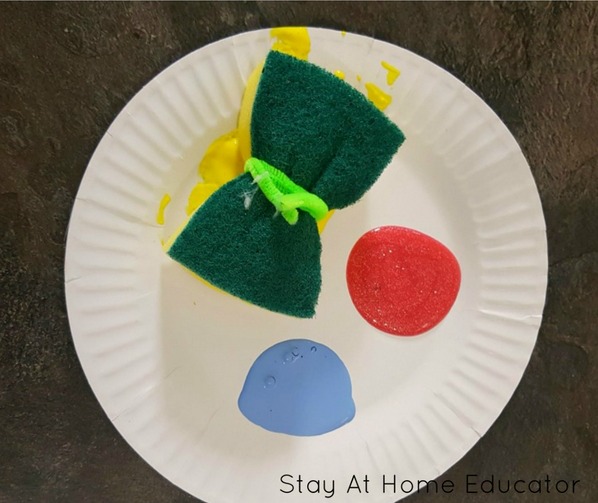
Let the children stamp their butterflies until they cover their page. Try to encourage them to leave space between each one so that we can add the decorations, although they won’t always listen to this! A collage with them close together looks great too.
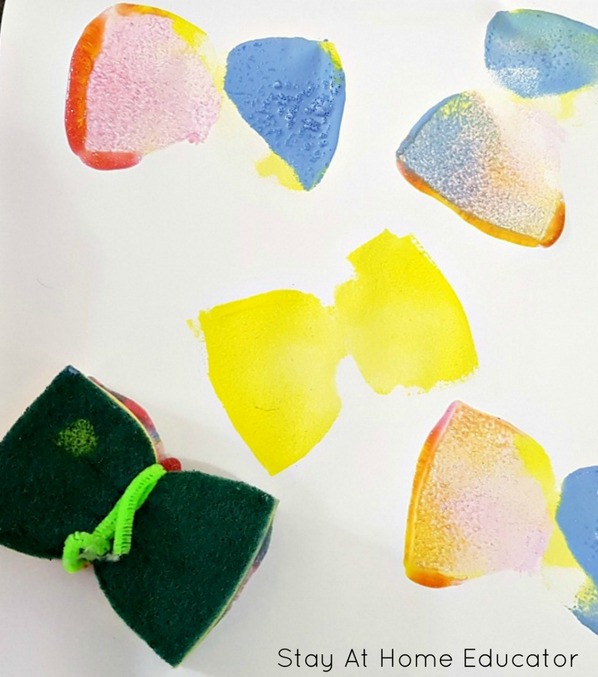
Once the paint has dried, add the adhesive gems down the middle of the butterfly and on the antennae. You could talk about patterns or counting while the children add the gems.
Use a marker to draw the rest of the antennae. Glue on the googly eyes. We used a mix of different colored googly eyes, but normal ones will look great too.
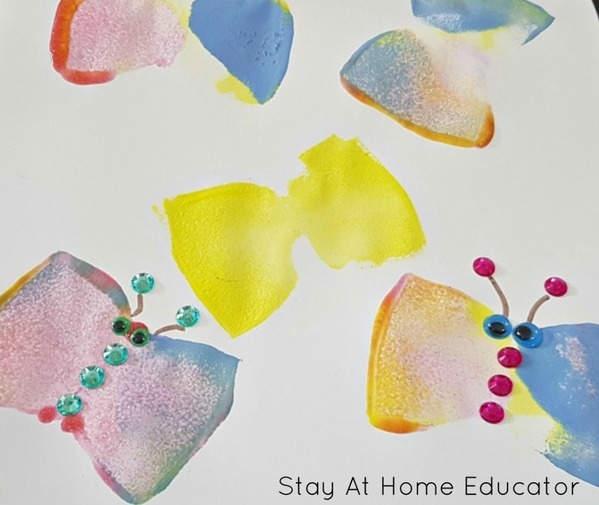
Let the butterflies dry and put them on display!
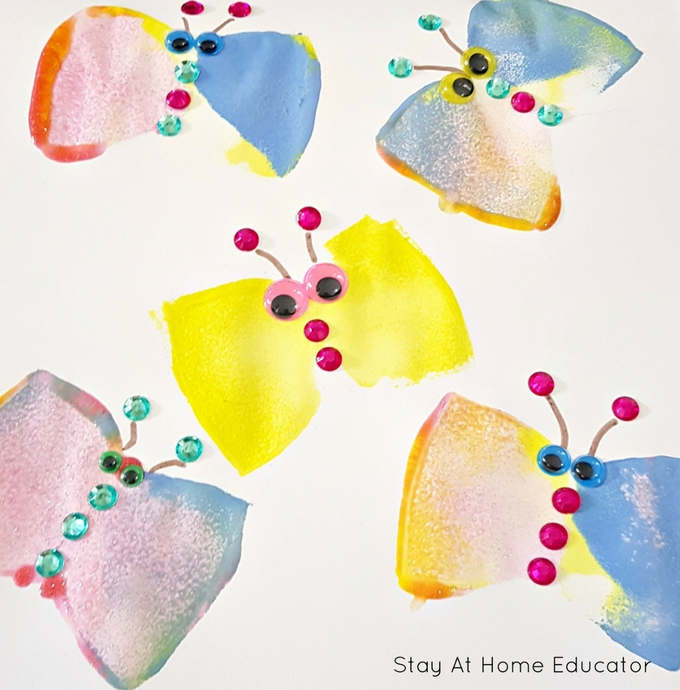
The children really loved this activity. As I mentioned earlier, we have been stamping butterflies all week now. It’s quickly become a popular activity in our household. If you want to extend the activity you could:
- use different sized sponges
- experiment with mixing different colors
- decorate the butterflies with different craft supplies
I hope your children have as much fun with this butterfly stamping process art activity as mine did!
I’m Carol, an Australian Teacher and the Mum of 2 toddlers who have LOTS of energy. I spend my days finding simple and fun activities to keep them both busy and love sharing our crafts and activities with you. I believe that toddler activities don’t have to be expensive, and that simple activities can provide great learning opportunities for young minds.

[…] Butterfly Stamping Process Art […]