
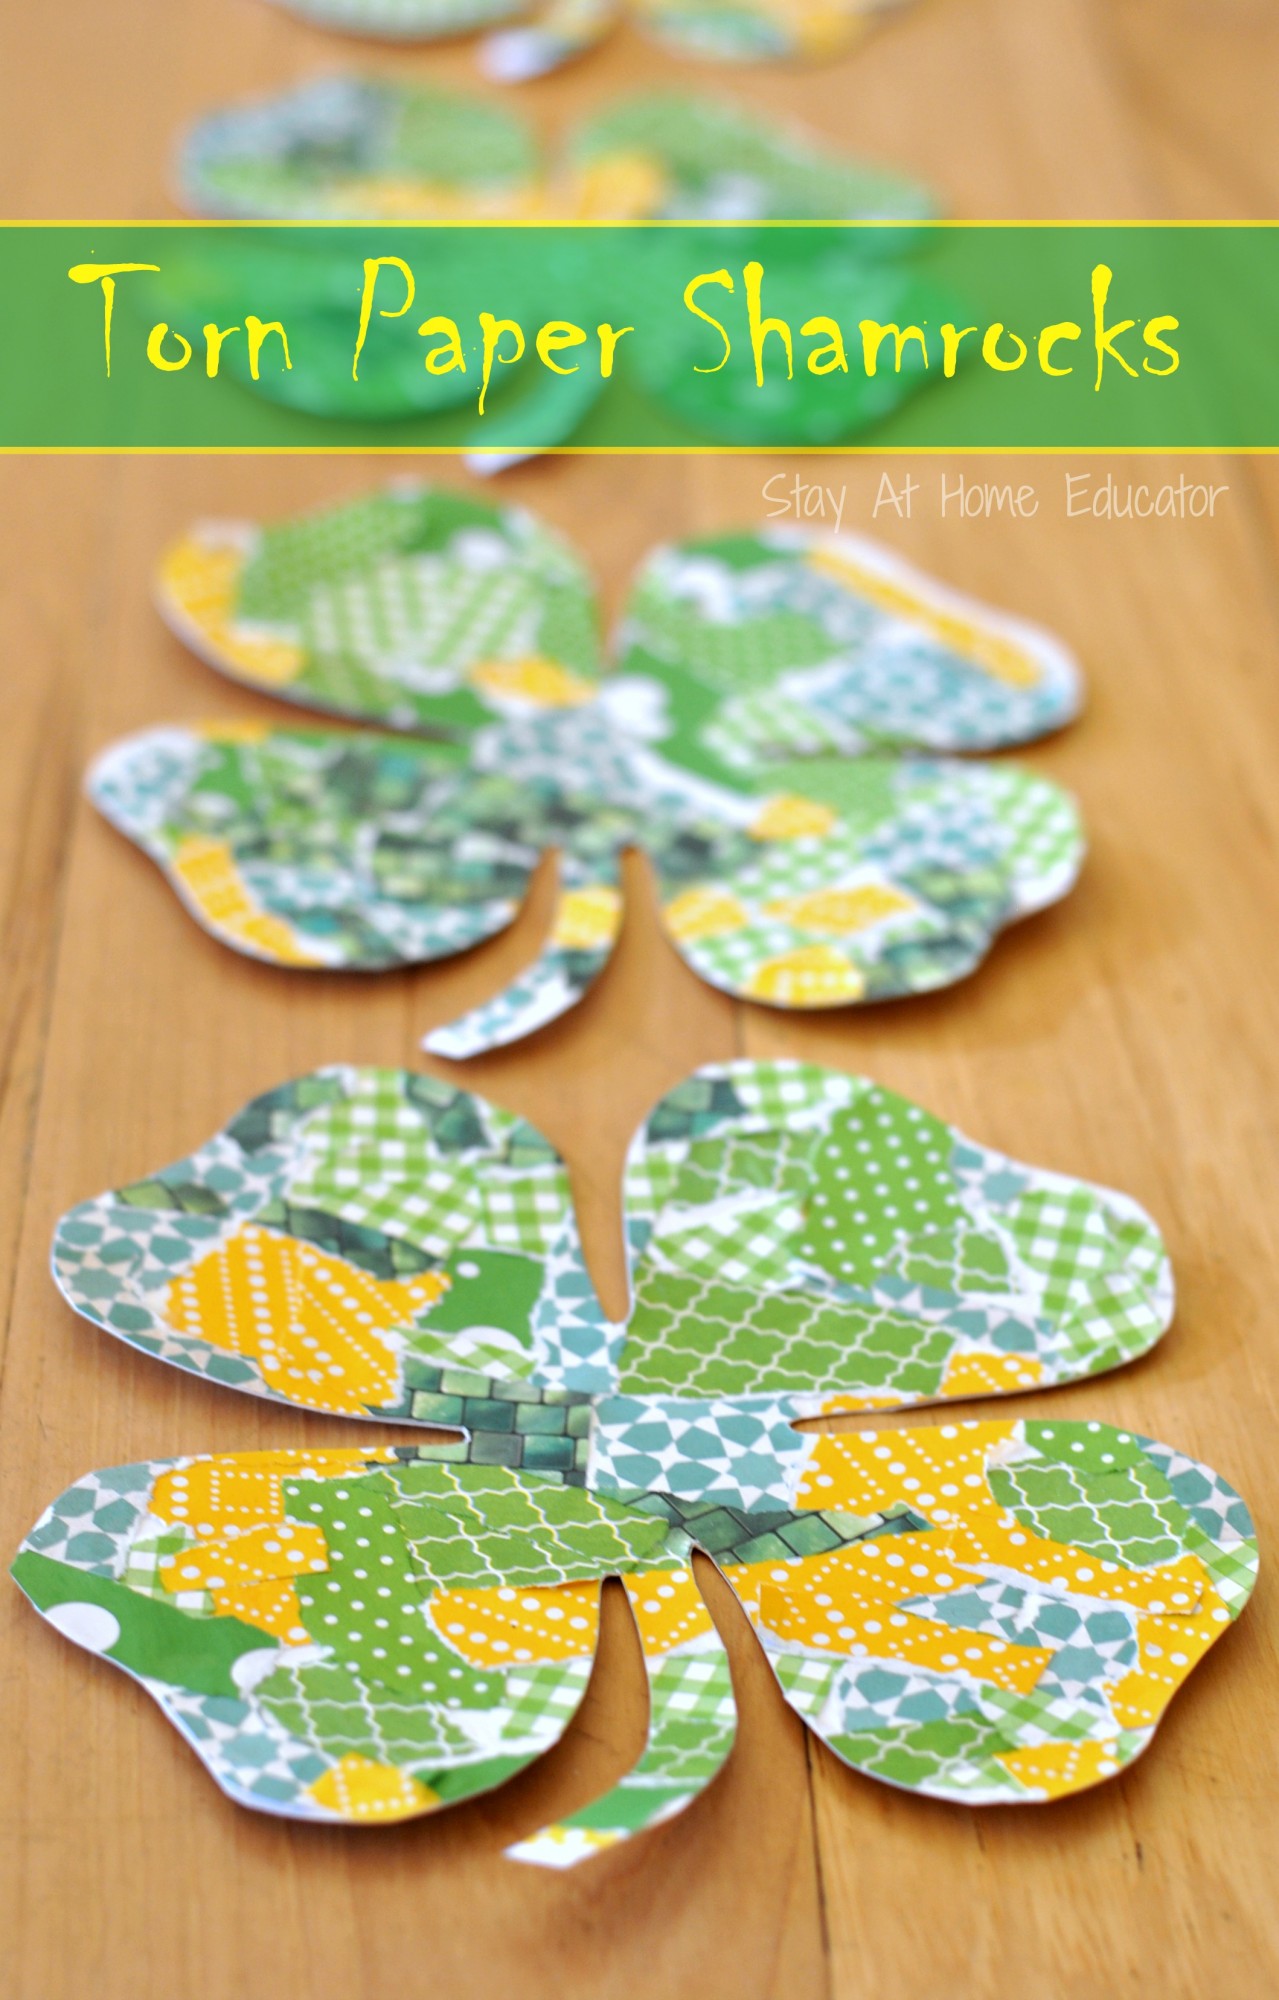
Torn Paper Shamrock Craft
St. Patrick’s Day is one of our favorite holidays. It is a time to celebrate the color green, which is William’s favorite color, and this shamrock craft does just that.
Torn Paper Shamrock Craft
I have to admit, this idea was not completely my own. I was inspired by Happiness is Homemade‘s Mosaic Paper Shamrock Craft. She invited her children to use square tiles of scrapbook paper to cover shamrock shapes in a somewhat orderly fashion, in rows like many mosaics. While I adore those shamrocks and think they look awesome, and what a fun craft for St. Patrick’s Day! I knew I wanted to do something like that with my preschoolers, but wanted something that could really help develop their fine motor skills. We had recently used scissors to make “confetti” for a craft. So, instead, we tore paper and collaged them onto a shamrock shape.
Join me regularly via subscribing to Stay At Home Educator by email, Facebook, Twitter @StayAtHomeEdu, and Pinterest. This post may contain Amazon affiliate links.
We began by tearing green and yellow scrapbook paper into pieces, about the size of a quarter. Green, of course, is the color for St. Patrick’s Day, but I always like to add a color that contrasts some, like yellow. Some pieces were a little bigger or longer, some smaller or shorter. It really is ok, as long as there are no big pieces.

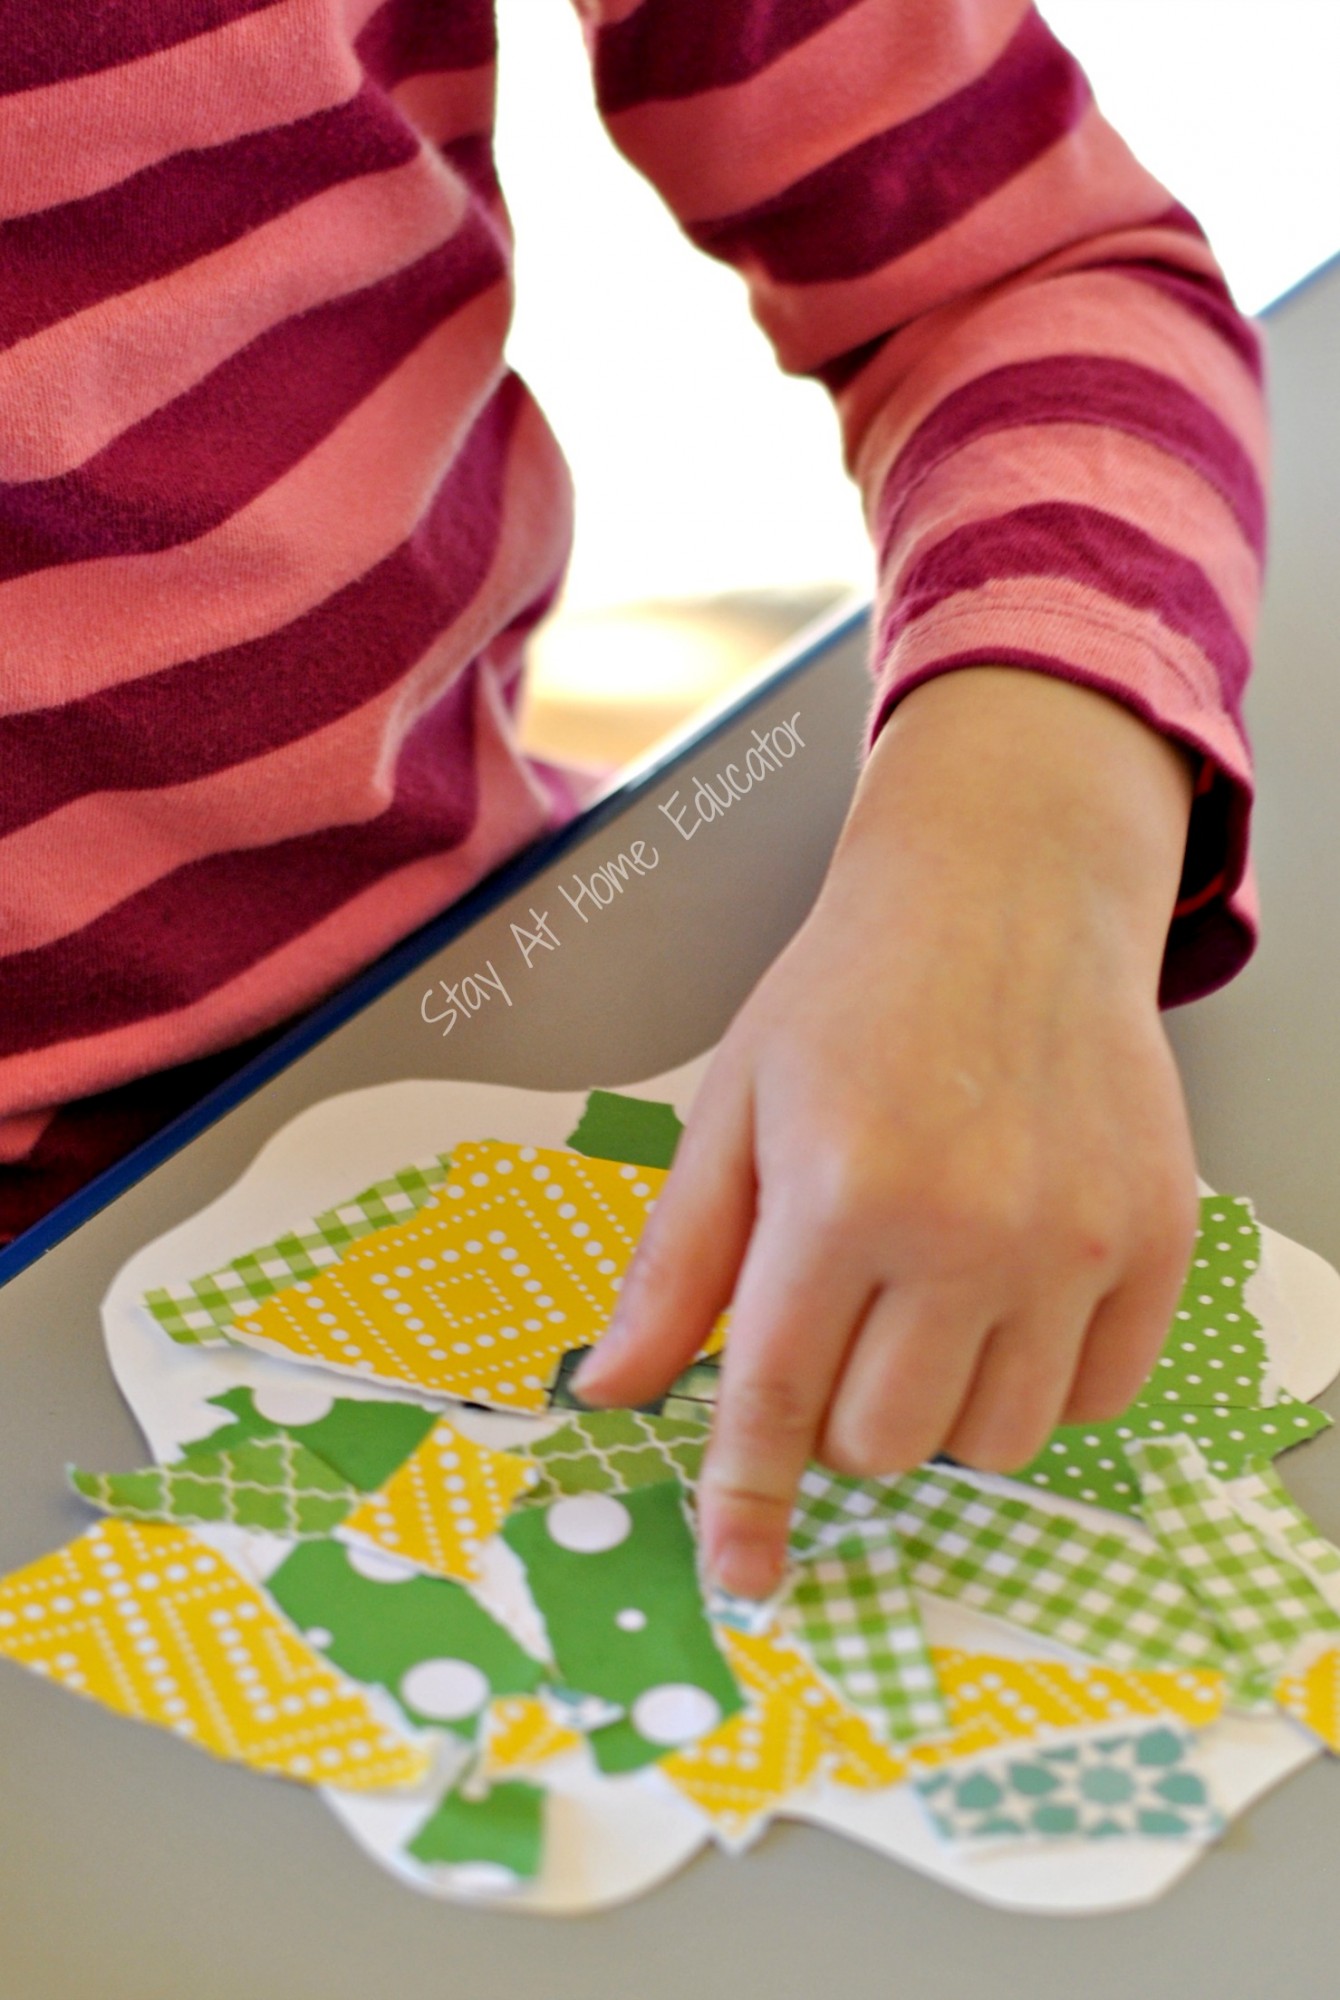
As you can see from the image, this was a great fine motor activity. Some students had to be taught just exactly how to tear the paper without crumpling it, and it took some practice to tear the smaller pieces. As the piece of paper got smaller and smaller, it became more and more difficult to tear. Students had to learn where to best place their hands on the paper (the top edge) to make tearing the easiest, and where to place the rest of their fingers while tearing (tucked into the palm).
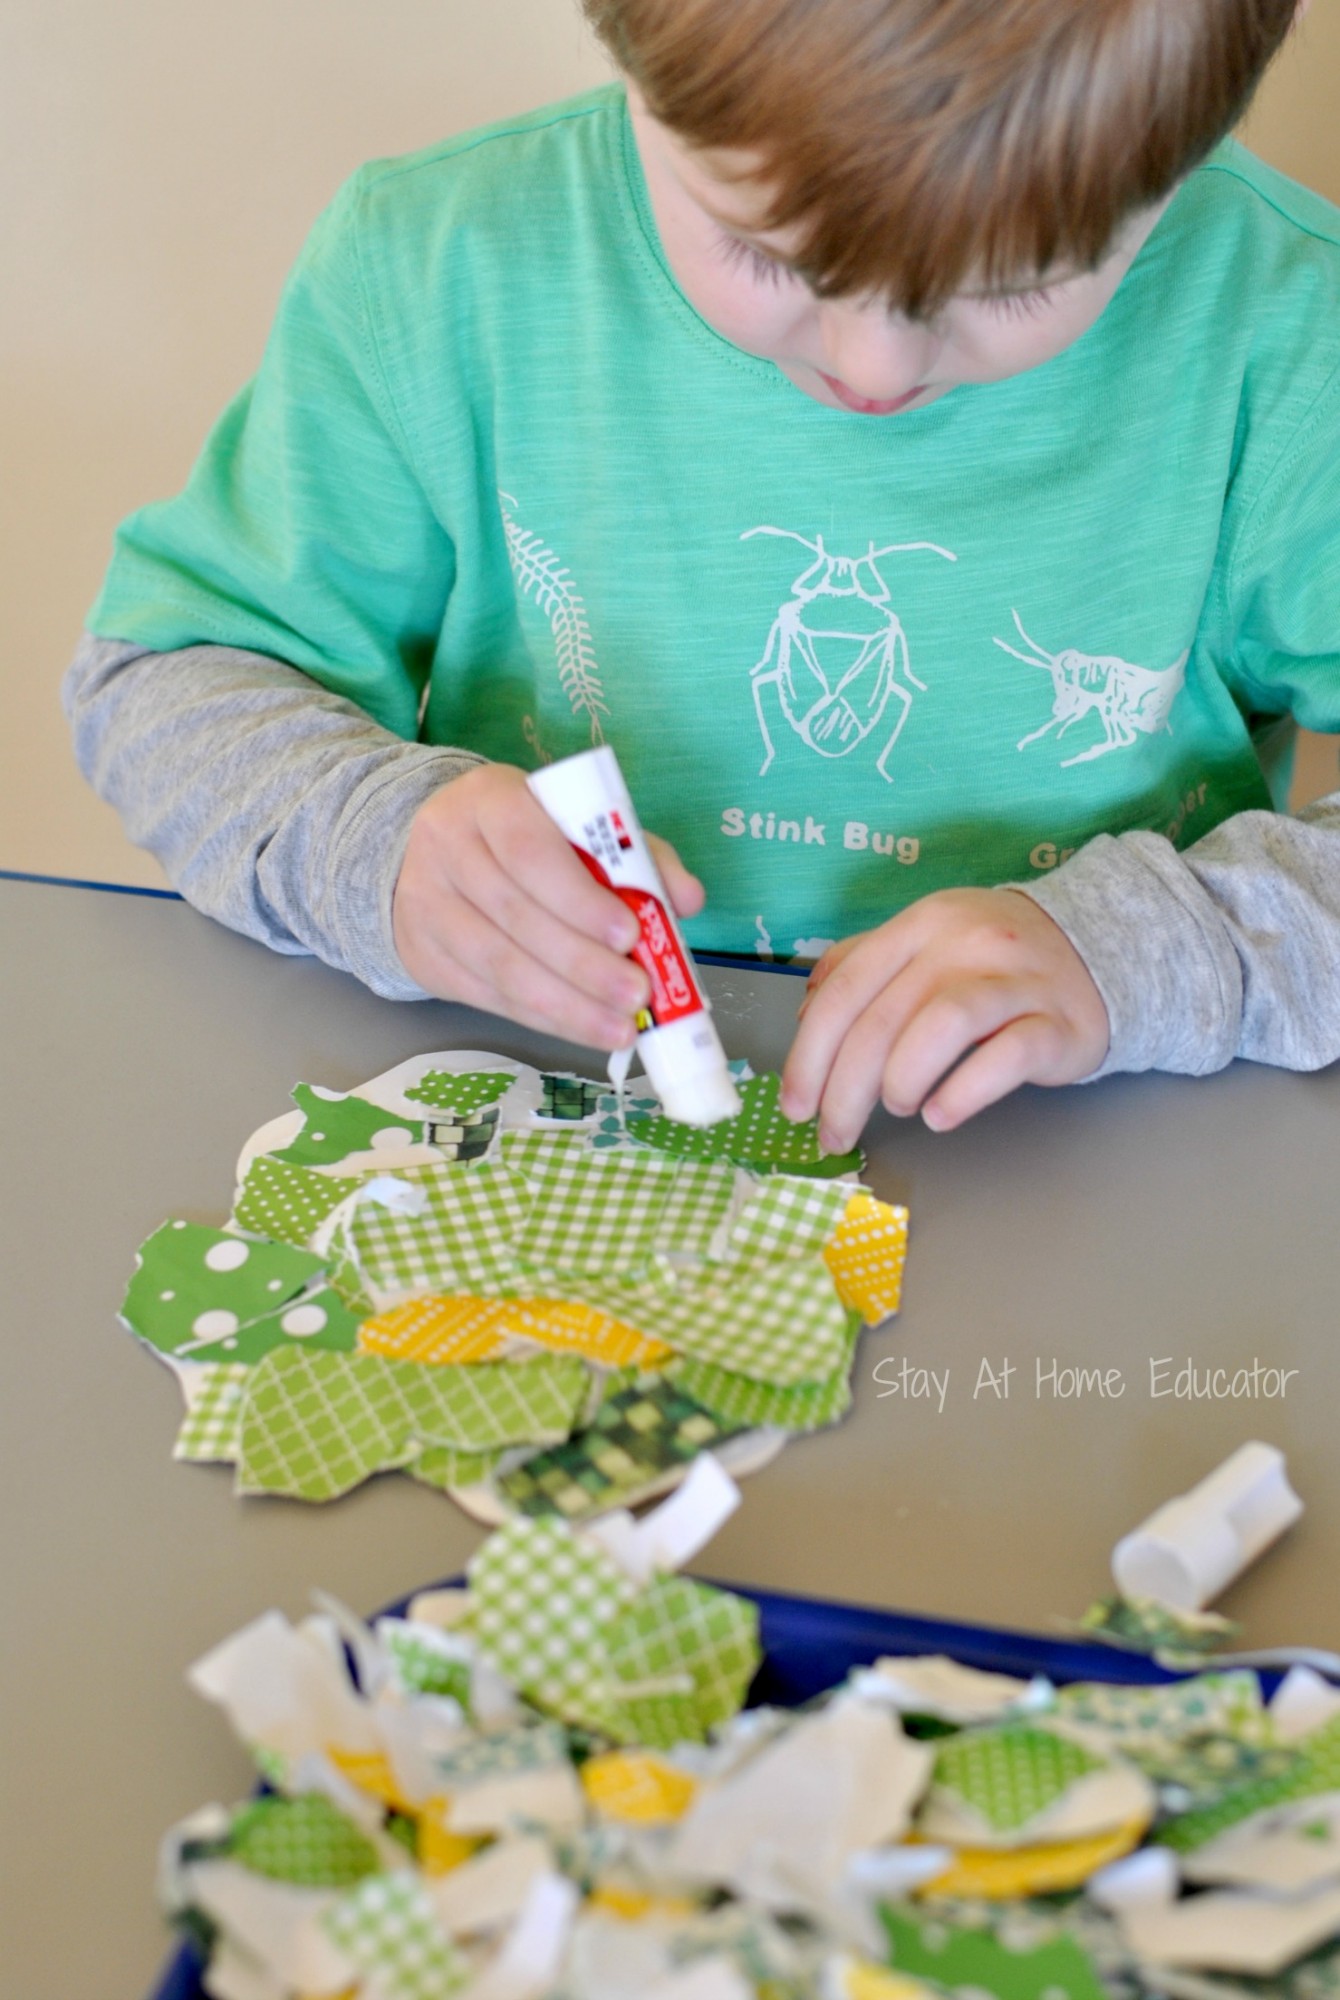
Then, students glued the pieces onto their shamrock shape. I explained our goal was to cover every bit of the shamrock so that no more white was showing. This the students took very seriously as a few students did many, many layers of torn paper on their shamrock. Other students used a different tactic and torn pieces into shapes they thought would fit, like making torn paper puzzle pieces.
And, just a note on the shamrock, I just cut out the general shape prior to the craft. Once the students had covered all the white with torn paper, I painted a little mod podge on it, allowed it to dry, then cut the final shamrock shape. (The key is to paste the paper on the back side of the shamrock so you have the outline to follow on the other side when you cut it out). Of course, if your little one is old enough, he can do his own cutting if you’re comfortable with it.
As with all our activities, this one was supported by lots of reading! These are some of our favorite St. Patrick’s Day books.
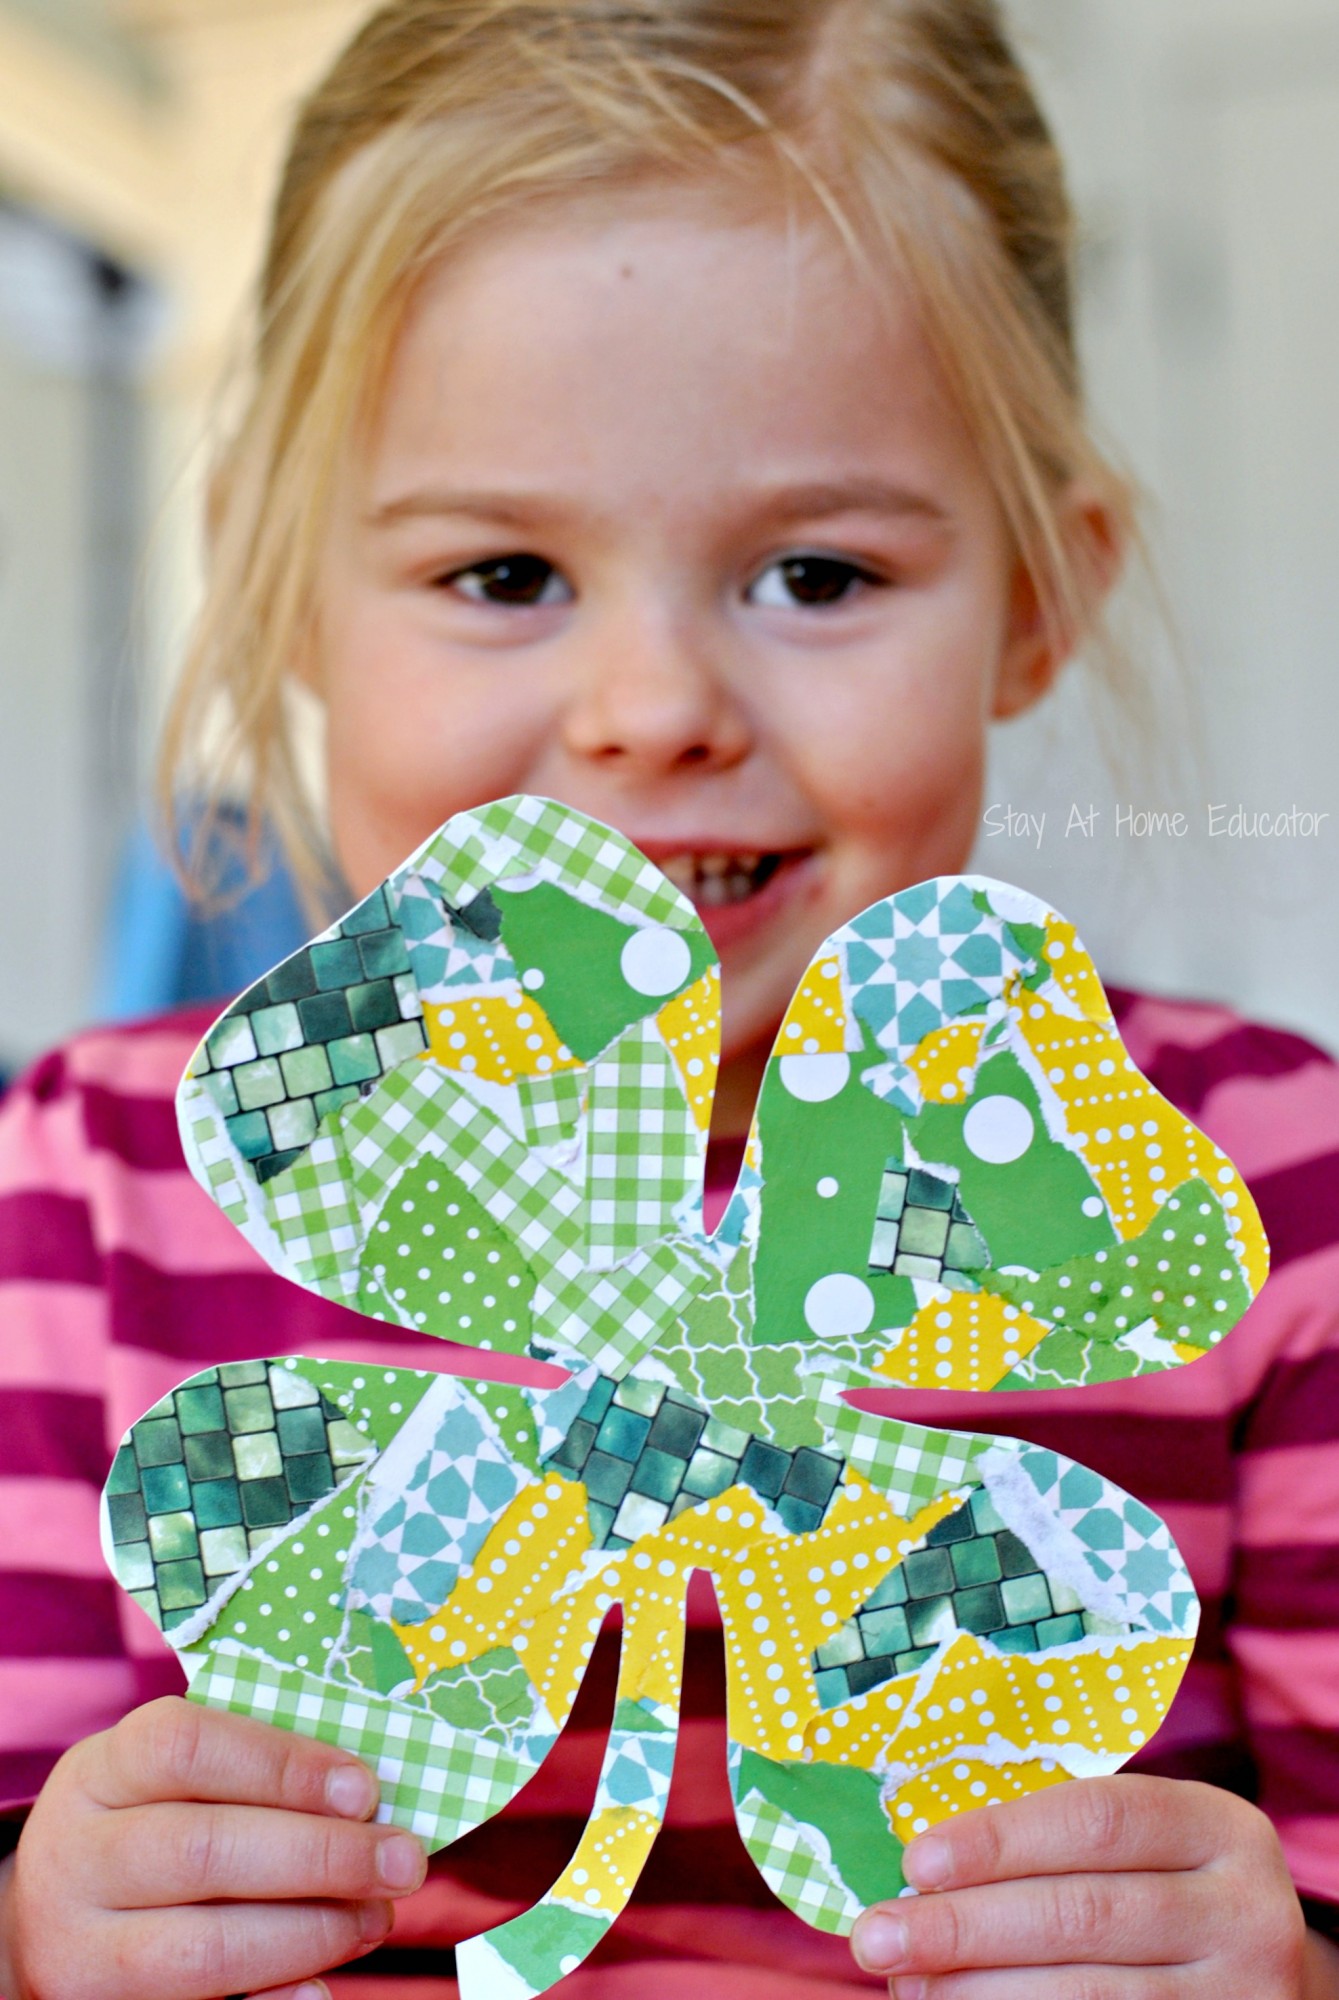
See how awesome they turned out? I love these shamrock crafts. They are perfect for St. Patrick’s Day and will hang on our kitchen window.
 Enjoy!

I’m Sarah, an educator turned stay-at-home-mama of five! I’m the owner and creator of Stay At Home Educator, a website about intentional teaching and purposeful learning in the early childhood years. I’ve taught a range of levels, from preschool to college and a little bit of everything in between. Right now my focus is teaching my children and running a preschool from my home. Credentials include: Bachelors in Art, Masters in Curriculum and Instruction.
I am going to do this craft with my seniors 60+ center. Thanks for the idea. Just wondering what you mean by “the key is to paste the backside?
When I did this activity with my preschoolers, I didn’t really cut out the shamrocks. I traced the shamrock shape on the poster board and then just did a quick, general cut-out. So then the preschoolers added their torn paper to the backside of the tracing, so that when the glue had dried I had a pattern to follow on the backside when cutting out the shamrock in more detail.