
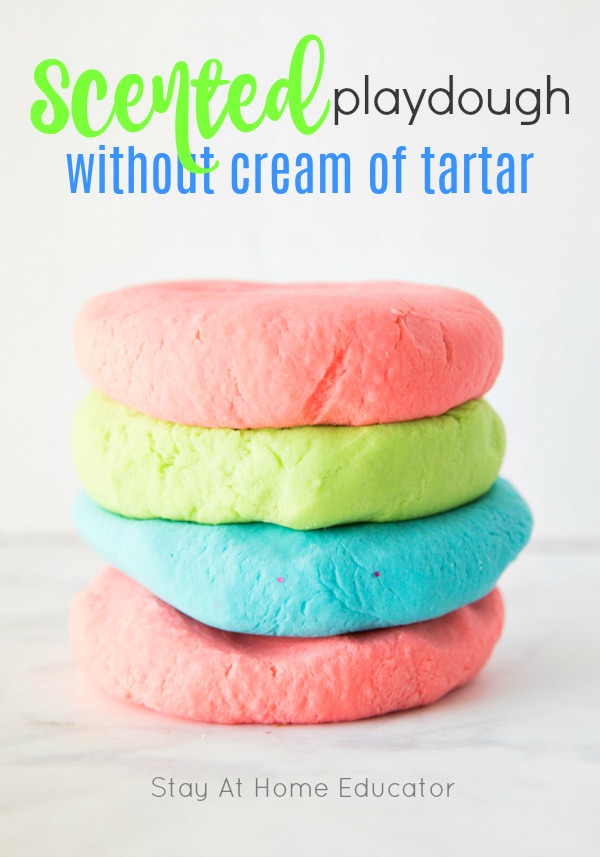
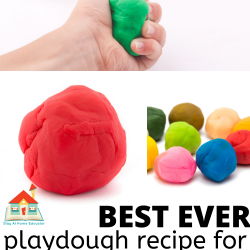
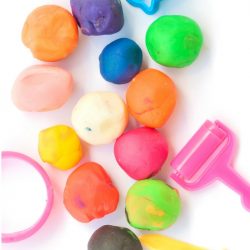
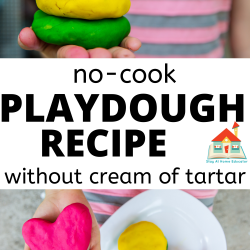
Easy Playdough Recipe Without Cream of Tartar
Want to know how to make playdough? This easy playdough recipe without cream of tartar is perfect for preschoolers! It’s a quick, no-cook recipe that’s budget-friendly for busy parents and teachers. We’ve also included other great playdough recipes and helpful tips for making playdough at home.
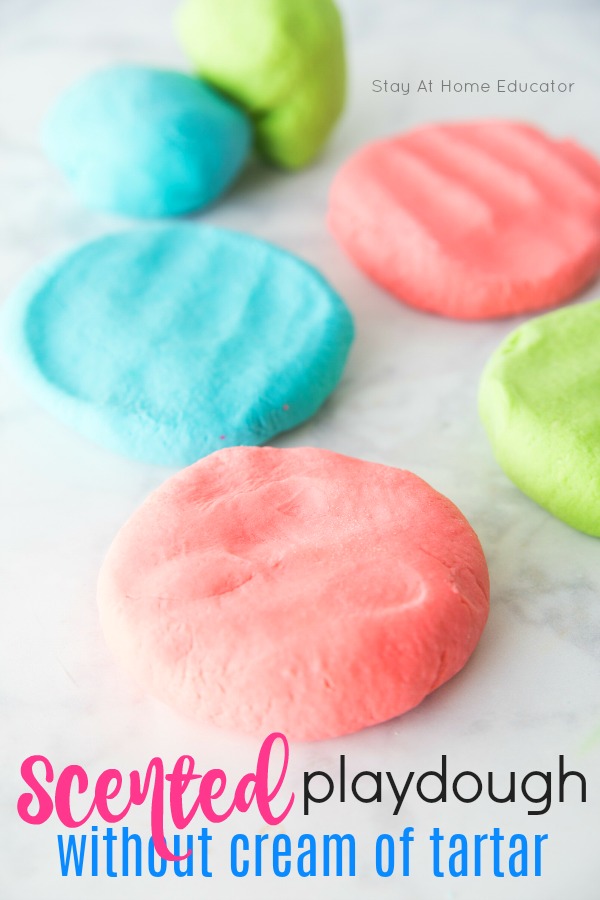
As a preschool teacher or parent, you know playdough is a staple in any preschooler’s playtime. But constantly buying it can add up, which is why you’ll love this no-cook playdough recipe without cream of tartar. It’s quick, easy, and budget-friendly—perfect for those busy days when you need a reliable go-to activity.
Preschoolers need hand strengthening activities to prepare them for life skills. It also prepares them for learning the correct and mature pencil grasp. Playdough is also a great accompaniment to a variety of preschool themes and math activities.
So, a playdough recipe that doesn’t call for cream of tartar is a really valuable thing to have on hand.
For another fun no‑cook dough option, try our Playdough with Cornstarch and Conditioner. It’s soft, easy, and great for sensory play.

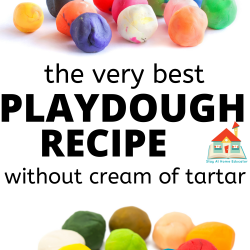
Playdough Recipe with No Cream of Tartar
This recipe does not call for cream of tartar to stabilize it, and the recipe doesn’t call for expensive extracts or essential oils for fragrance
, although they can easily be added.
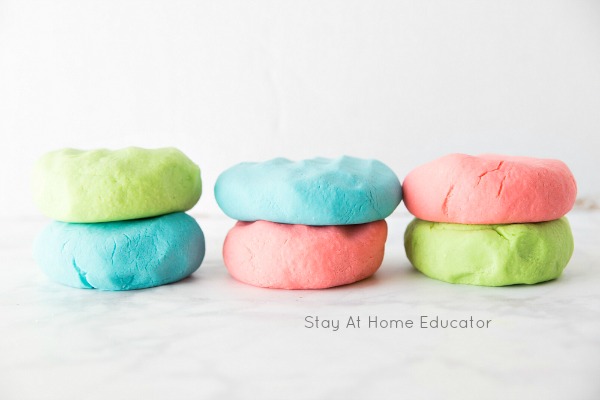
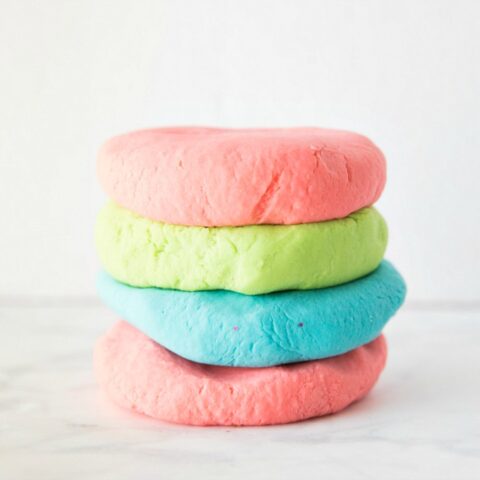
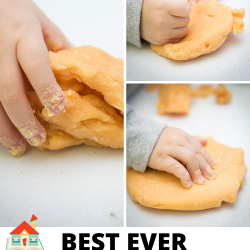
Watch the how-to video on this page and you’ll see how it is malleable, but not sticky, holds its shape beautifully, but without being crumbly.
This is easily our favorite recipe. It has juts the right texture for activities like our cupcake playdough mats, too.
Disclaimer: I have had my fair share of play dough fails. Remember this Facebook post of my failed red play dough that brought my sweet daughter to tears? Well, tears no more, because I’m also sharing some tips and tricks to making play dough perfect the first time!
Playdough Recipe Without Cream of Tartar
This is always my go-to homemade playdough recipe because it is such an easy playdough recipe! It’s pretty fool-proof.
It’s a small batch recipe, making just over a cup of playdough, but it can easily be doubled or tripled for larger groups.
This post may contain affiliate links, which means that at no cost to you, I may earn a small sum if you click through and make a purchase.
Ingredients
- flour
- salt
- cooking oil
- lemon juice (fresh or bottled)
- Kool-Aid (optional for scent and coloring) or essential oils for fragrance
- Food Coloring
Out of lemon juice as well? Try this playdough recipe without cream of tartar or lemon juice!
Cooking Supplies Needed for No-Cook Play Dough
- large mixing bowl
- glass, heatproof, microwavable 2-cup measuring cup
- measuring cups and spoons
- aluminum foil, parchment paper or wax paper
- wooden paddle for stirring
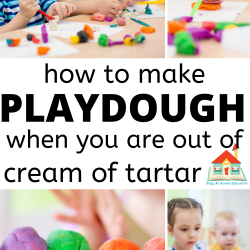
Cream of Tartar Substitute for Playdough
We’ve all been there when we’re ready to cook or bake something and ate we are out a key ingredient. For DIY homemake playdough recipes, that often means you have no cream of tartar.
However, there are a lot of cream of tartar substitutes that will work just as well.
This playdough recipe uses lemon juice, but any kind of vinegar will work just as well. In a super big pinch, you could even use plain yogurt or buttermilk. You might need just a little bit more water.
How to Make Playdough without Cream of Tartar
Step 1: Heat the Water and Lemon Juice
Measure the water and lemon juice into a heatproof, microwavable 2-cup measuring cup. Heat in the microwave until nearly boiling, about 2-3 minutes. Do not heat the water to an actual boil.

Step 2: Combine Dry Ingredients
Meanwhile, mix together the flour and salt in a large mixing bowl.
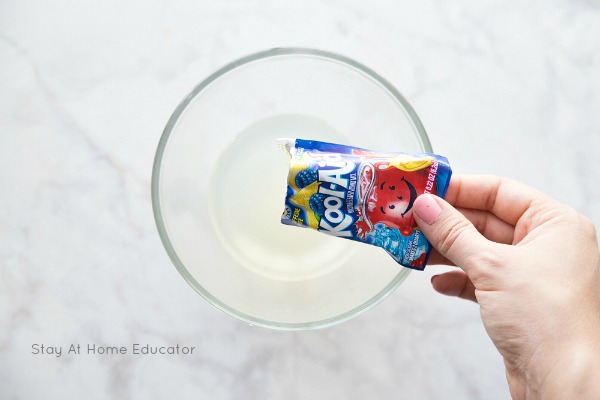
Step 3: Add Kool-Aid (Optional)
If using Kool Aid for the fragrance, slowly (and I mean s-l-o-w-l-y, because the mixture will foam a bit) pour the kool-aid packets into the HOT water and lemon juice mixture and add additional food coloring
to intensify the color if desired.
Caution: While this is a “no-cook” and very simple playdough recipe, it does involve very hot water, so please be careful and always supervise children while they are helping.
Step 4: Combine Wet and Dry Ingredients
Slowly pour the liquid into the flour and salt mixture, and stir with a wooden paddle until it just barely begins to form a dough.

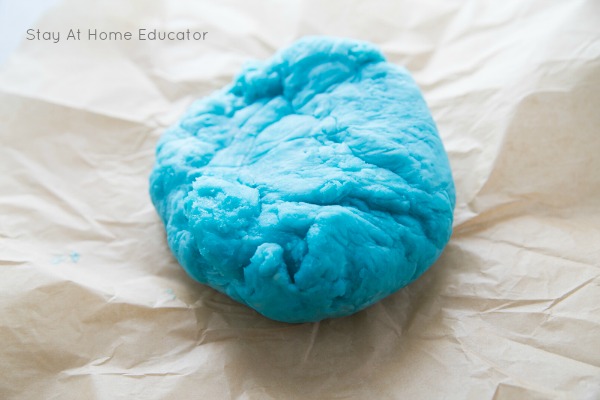
Drizzle the tablespoon of cooking oil over the dough and stir again until it forms a ball. At this point, you may want to knead the dough with your hands.
Here is another super easy playdough recipe without cream of tartar.
Step 6: Cool and Adjust Consistency
It may feel a bit sticky, too, but DO NOT add more flour. As the dough cools it will thicken and become less sticky. (Just like how gravy turns to sludge once refrigerated).
Now, once the dough is completely cooled, you may add flour a tablespoon at a time until it is the perfect consistency.
Allow the dough to cool a bit on a sheet of aluminum foil, parchment or wax paper. By the time you finish the next batch of play dough, the first will be cool enough to store.
I love to store playdough in these freezer jam containers because the screw on lids are more airtight than snap-on lids.

How to Fix Playdough
This recipe if practically fool proof, but it the texture isn’t 100% perfect, then try these tips.
Not using enough flour or salt result in sticky playdough, and so will using too much water. If you used the correct quantities in this recipe and your play dough is still sticky, it probably needs to cool a little longer. Once the dough is completely cooled, it should have the right consistency.
But if the dough is completely cooled, and it the playdough is still sticky, try kneading in some more flour, one tablespoon at a time, until you get the desired temperature.
If you end up with crumbly or dry playdough, it’s probably because you didn’t use enough water and lemon juice. To fix crumbly playdough, just add a little water, one tablespoon at a time, and knead really well. It’s going to be messy at first, but just keep kneading.
To avoid adding too much water while trying ti fix dry playdough, add leave the newly kneaded playdough in a plastic baggy overnight to let the water fully integrate before adding more.
Like cream of tartar, lemon juice, or even vinegar, helps stabilize the dough, giving it that malleable playdough texture we all love. It also acts as a preservative, making the dough last longer.
This recipe has always turned out, and it’s definitely an added bonus that this playdough recipe doesn’t call for cream of tarter. Save that stuff for Snickerdoodle cookies!
Try this incredibly super soft, silky playdough recipe without cream of tartar.
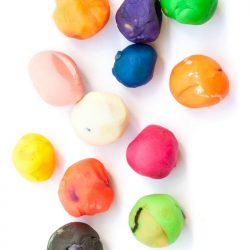
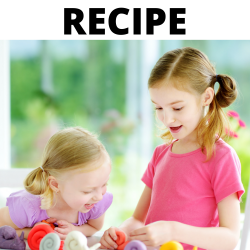
More Easy Playdough Recipes
Homemade playdough s a staple in my preschool classroom. We use it nearly every day. Because of that, I am always coming up with new and unique playdough recipes. Here are some of our favorites:
- Lemon Scented Playdough Recipe
- Jello Playdough Recipe
- Peanut Butter Playdough Recipe
- Autumn Playdough Recipe
- Cookie Dough Playdough Recipe
- Tea Scented Playdough Recipe
- Glow in the Dark Playdough Recipe
playdough recipe without cream of tartar_finished flat
How to Store Homemade Playdough
This playdough recipe will last a long time, especially if you keep it in the fridge, which is another reason why preschool teachers love this recipe. It will keep on the shelf for up to three months if storied in an air-tight container. I like to use freezer jam containers.
This recipe will keep for up to three months, but be sure to have your preschoolers wash their hands before playing with the playdough. DIY playdough recipes don’t have additives that will increase shelf-life like commercial Play-Doh does, so a good hand washing before playing is a great idea.
Get Your FREE Printable Playdough Recipe Here
Think you’ll be making this playdough recipe a lot? Print a copy of the recipe to save it for later. Just click the image below to have it sent to your email.
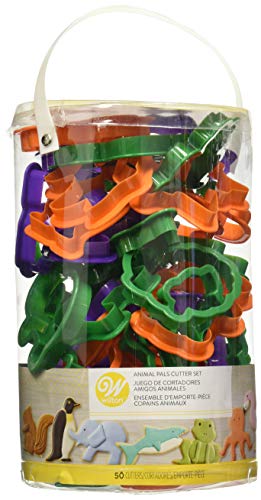
Try Some of My Favorite Playdough Accessories
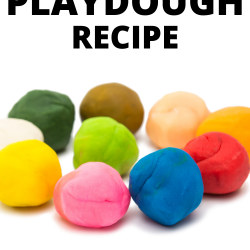
Best Playdough Recipe Without Cream of Tartar
No cream of tartar? No problem! This no-cook playdough recipe doesn't call for cream of tartar to stabilize the dough.
Materials
- 1 cup flour
- 1/4 cup salt
- 3/4 cup of water minus 3 tablespoons
- 3 tablespoons of lemon juice
- 1 tablespoon cooking oil
- 2 packets kool-aid (optional for fragrance and coloring)
Tools
- large mixing bowl
- heat proof glass measuring cup
- measuring cups
- parchment paper
- wooden paddle or spoon
Instructions
- Mix water and lemon juice in a glass, microwave-proof mixing cup. Heat until boiling, about five minutes.
- Meanwhile, mix together flour, salt and oil in a medium size mixing bowl. Set aside.
- Add the kool-aid packet(s) to the boiling water and lemon juice mixture. Be careful, this could foam. Whisk until the kool-aid dissolves.
- Pour the liquids over the flour mixture and mix well.
- Turn out onto the counter and knead until the flour is well combined.
- Cool completely before play.
Notes
The consistency of this playdough will be slightly sticky while warm. Allow to cool completely before adding additional flour to adjust consistency.
Recommended Products
As an Amazon Associate and member of other affiliate programs, I earn from qualifying purchases.


I’m Sarah, an educator turned stay-at-home-mama of five! I’m the owner and creator of Stay At Home Educator, a website about intentional teaching and purposeful learning in the early childhood years. I’ve taught a range of levels, from preschool to college and a little bit of everything in between. Right now my focus is teaching my children and running a preschool from my home. Credentials include: Bachelors in Art, Masters in Curriculum and Instruction.

Didn’t have any lemon juice in the house, but I did have some citric acid powder. So I substituted it 1/4tsp powder per tablespoon of lemon juice, and then kept the water at an even 3/4cup. Worked perfectly.
Thanks for the recipe. I am one of those who ended up with a very sticky dough. I realized why though! I was reading through the recipe and when it comes to the water part, it says use the 2 cup container. So I got 3 tbs of lemon and then filled to 2 cups 😮 In the recipe itself you dont mention 3/4th cup of water, it was only in the beginning.
One I realized my mistake, I added another 1/4 cup salk and 1 cup flour and another 3 tbs of lemon. it was still slightly sticky after which I added more than 1 cup flour and salt. Adding them slowly finally gave me the perfect dough! Its wonderful. I worry when my 1 yr old plays with the playdough and puts in his mouth. But with this he did taste it and spit it right ou and proceeded to play. Love that it is all homemade with edible ingredients
Hi Sarah, thank you so much for this recipe. I wanted to try out a new playdough recipe, since the one I normally use, been acting funny lately. And I don’t like to cook when I can avoid it .
So I tried this. And it came out perfect. We don’t get cool aid, so I entirely skipped that, and added a few drops of vanilla essence for one colour. It’s a keeper!!
One question though, how do you store it? Do you refrigerate it or leave it room temperature?
Thanks again for a great no cook recipe.
You can store it either way. I just throw it in an air tight container and leave it in the bin with the playdough tools, but it would also store just find in the fridge.
I used this recipe with my kids and it was a disaster we let it sit for over a day and it was still sticky we tried slowly adding cornstarch and flour and nothing worked I recommend never using this recipe and finding one that actually works
I am so sorry this happened. So frustrating! Another reader commented that sometime the weather can impact playdough. I wish I had a solution for you.
We made this recipe today and it worked great! One thing I would say is that it is very weather dependent. We are in a high humid area. I had to put the dough in the basement to cool it down. Maybe a bit of time in the freezer would help. After that we needed just the tiniest bit of oil (1/4 tsp) and it was great. Thanks!
This is a great recipe, thank you for sharing! The dough turned out soft and wonderful. We are looking forward to making more!
Worked great! The only thing I did differently was add the oil and food coloring in with the hot water and lemon juice. Used the dough to make a mold for some chess pieces.
Hi there, so I followed your recipe, but for some reason mine is runny. I’m not sure why, but do I add more flour?
Was it runny or sticky? I’ve never had the recipe turn out runny. If the dough was runny, too much water was added. If the dough was sticky, it may have been because it needed to cool longer. After the dough is completely cooled, if it is still sticky, then you can add a little flour one tablespoon at a time until you reach the desired consistency. Just make sure to fully incorporate each tablespoon before adding another.
just made this and loved it so much!
I could not find a link to print out the playdough recipe. I could write it down but that is time I do not have at the moment. How do I print it from your email?
Look for the tan box with my house logo on it. It will say to download your printable.
Thanks this was so easy.
Sarah, Thank you for this recipe. I used a similar one for my summer camp this year and the children loved the smell? The only difference between your recipe and the one I used from THE 36th AVENUE blog was the lemon juice. Another idea for scented playdough is using powdered coffee creamer. You have to be careful and add the granulated creamer as the playdough is cooling. If you mix it with water, you get a milky mess—LOL! I use anywhere from 1/4 to 1’/3 cup granulated coffee creamer per recipe. The French Vanilla smells like cookie dough and leaves great smell in the whole room for the holidays!
Thank you so much for sharing this. I have made countless batches of awesome cheap dough for my wee one.
However for the first time ever I did manage to make a batch that was runny. I added small amounts of flour to correct the issue. After making so much of previously it I came to the conclusion that mixture discrepancy was probably an air pocket in my measure cup of flour and or just slightly higher than the line in my jug for the water.
For others struggling I suggest not adding all the water at once. Leave a few tbsp in the jug and add as needed.
Thanks for the tip, Victoria! This is my go-to recipe, but I admit playdough can sometimes be finicky, especially if you’re like me and always have a lot of extra helping hands!
I have added literally cups of extra flour and it is still horribly sticky. Not only did I not save money, I ended up having to buy play doh because I had promised the preschoolers play doh. I will not recommend.
I’m so sorry it didn’t turn out! I’ve honestly never had that happen. But, I can tell you that it will feel a little sticky at the beginning until the dough cools completely. It’s just like making a gravy. It will be it’s thickest once cooled completely.
So I tried this recipe and the first time it was amazing!!! It’s perfect in every way, even better than store bought, in my opinion. The second time, I made a different recipe because I wanted to make blue but I only had Jell-O mix. Even after doubling the flour amount was it remotely able to be used but it resembled raw cookie dough in consistency. I was hugely disappointed. I made another batch of yours in green. Again, super awesome, worked out perfectly. Then I made a batch of yours but with country time lemonade mix to make yellow. It turned out exactly like the blue did! A sloppy mess. I then made a batch of yours and instead of using any “flavoring” packet of Kool Aid or anything else, I colored it only with gel food coloring, it turned out perfect again. My conclusion was that the country time mix & the Jell-O mix have sugar in the powdered mixes. Any amount of flour added will not make the proper consistency & you’ll end up throwing it away. If people are having consistency problems it’s probably because the “colorant” product they used has sugar in the mix. You need to use the sugar free small packets of Kool Aid only. Anything else will get you a sticky mess. I hope that helps!
Hi Amy,
Thanks for taking the time to post about your experience. I haven’t tried this recipe with Jello or lemonade mix, so this was really helpful.
Hello, what type of cooking oil should be used? Vegetable oil?
Yes, I use vegetable oil, but really any kind of cooking oil will work the same.
Just made it and loved it. Made a few minor, if any modifications . Kid loved it. Thanks.
This worked amazingly well. I swapped out the kool aid/food coloring for a water flavoring product that had a lot less ingredients (so I felt better about using it). Not as cost effective, but it was a personal preference. Thanks for sharing!
Please tell me what I have done wrong it has sat and cooled for over an hour and it is still sticky
I have never had that problem. Try adding more flour a few tablespoons at a time. Knead well.
I ended up using cornstarch and it’s better. Thanks for the response and the recipe!
Glad you got it to work out! Smart idea to use cornstarch. I’ll remember that.
Hi. I also had the same problem. After a long time, still so sticky! I’m using it in the classroom so any kind of stickiness won’t work. I tried without the koolaid and a bit of extra flour ( I used peppermint extract) and it came out perfectly, which leads me to believe that the koolaid is the cause of the stickiness. I saved my koolaid scented batches by adding almost triple the flour. It works then – maybe add a note in the recipe that adding extra flour maybe necessary after it cools.
I’m so glad you commented and shared your solution. I really have had no problem with it, but I really appreciate you sharing how you saved the batch. And I will edit as you suggest. What a smart idea.
Hi! Update: I used the playdough in the classroom today. The one with peppermint oil was perfect. The one in which I used strawberry koolaid and almost three times the flour to thicken was a mess. Ended up the consistency of frosting! You can imagine what a mess that is with 26 kids. The purple grape koolaid scented playdough ( which also used almost thrie the flour) was pretty good! So I don’t know why, perhaps the kind of koolaid I used was the culprit? All I know is, if you are a teacher and want to use it in the classroom, this is an awesome recipe if you use oils to scent it. Beware of the koolaid batches……. I wish I could share photos of my students getting messy. In the end it was a success in that everyone had fun and it was a happy mess.
Thank you so much for sharing your experience. Play dough can be so funny, sometimes! I also love to use essential oils in playdough.
Mine flopped completely. I followed the instructions exactly but it was so sticky that I ended up throwing it away. I really don’t know where i went wrong 🙁
Ok, I have had this happen before. Did you let it cook completely? Just as flour makes a great thickener for a gravy, you will not know the thickness until the gravy is completely cooled. So, if yours turns out sticky, it may be because it didn’t have time to set up.
I can’t wait to make this for my Sunday school class. The recipe I have used for years calls for Cream of Tartar and is so expensive for as often as I need to make it. Thanks for sharing and God Bless your days.
I bet that it smells amazing!
It really does, and because of the Kool Aid, each color has a different scent, which the students love!
Sarah, how long does it last? I want to make about 200 – 300 batches ifor a school carnival thats 4 months away
I’ve had playdough last for up to six months! But most recommend to get rid of it after three months.
Wow! I’ve pinned it because I love it! I’ll use this recipe with my preschoolers. A million THANKS!