
Fall Experiments for Preschoolers: Explore How Nature Changes in Autumn
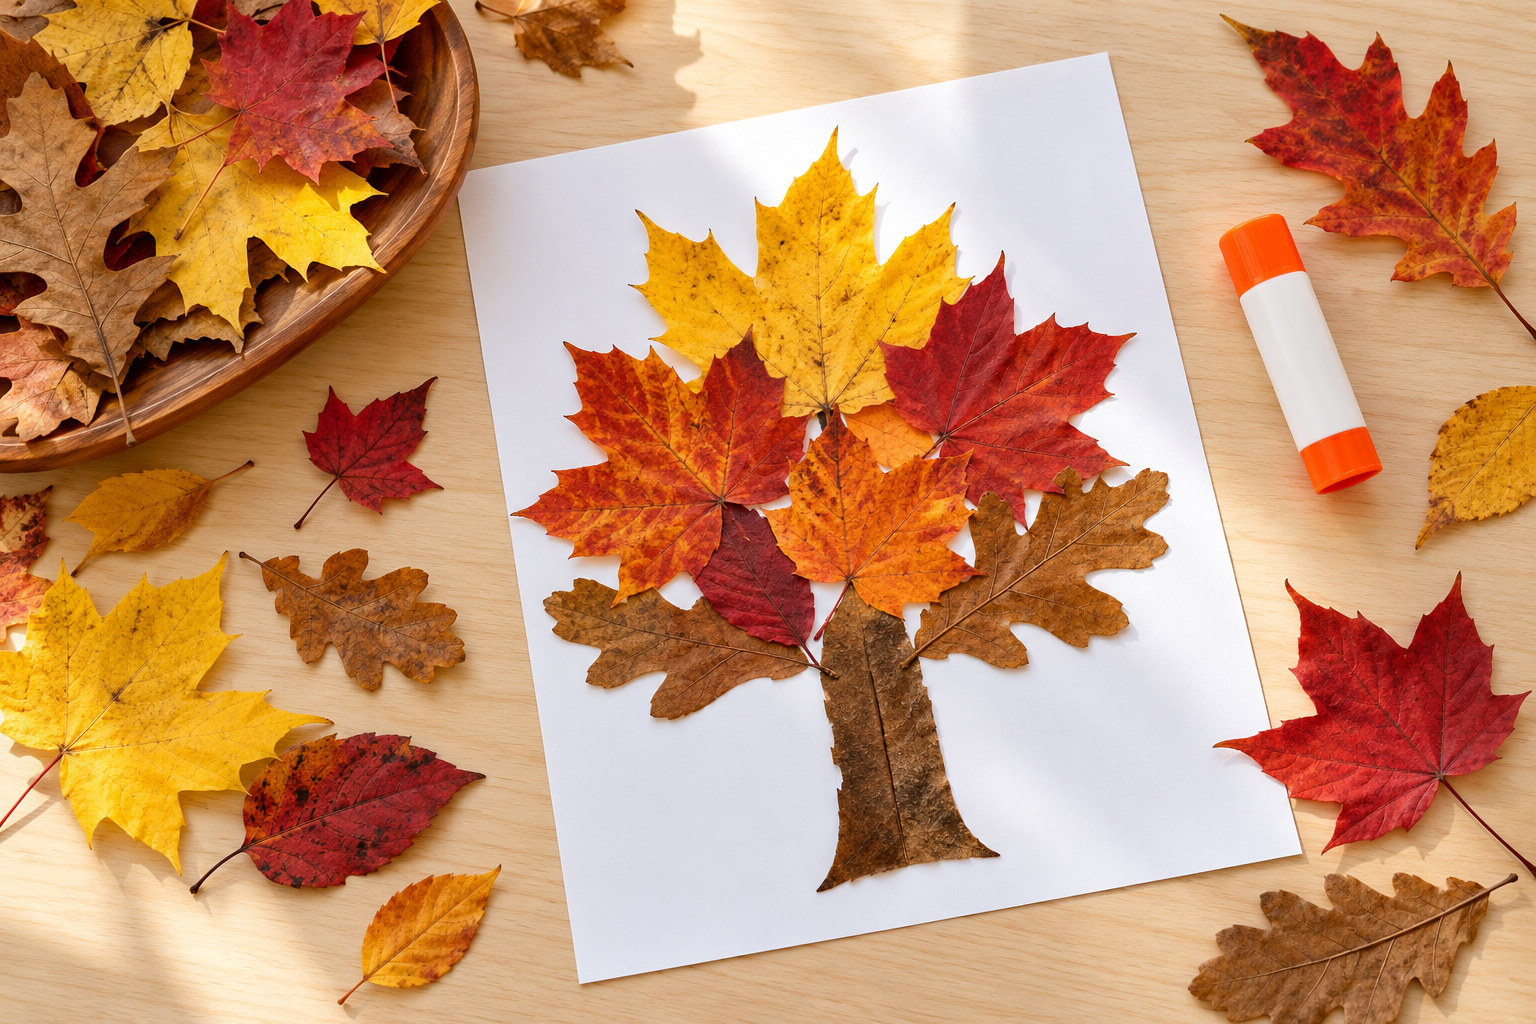
When I took my preschoolers to our “secret garden,” an arboretum near our school, they loved discovering the fallen leaves. They noticed different colors and shapes, which led us to discuss the different trees around us. Each child brought leaves back to make a collage. That outing offers a natural starting point for fall experiments for preschoolers: begin with something children notice, then investigate. Below you’ll find 11 hands-on experiments, from colorful leaves to changing pumpkins, that help children ages 3–5 look closely, make predictions, and discover how their surroundings change in autumn.
What Fall Experiments for Preschoolers Teach About How Nature Changes
Fall experiments for preschoolers are simple, hands-on investigations that show children ages 3–5 how nature changes in autumn. For example, kids can watch a wet pinecone close and reopen as it dries, or see yellow and orange pigments hidden in green leaves. Each experiment follows four steps: ask, predict, try, and talk about it.
Here is how nature changes in fall, explained for preschoolers: the days get shorter, and the air often gets cooler. Many trees have leaves that change color and fall to the ground. Plants have seeds that can grow into new plants when conditions are right. Some animals store food, travel to warmer places, or find shelter for winter.
How to Do Science Experiments with Preschoolers
Use four simple steps: ask, predict, try, and talk about it. Ask what children wonder, invite a guess, explore together, and discuss what happened. Predictions do not have to be correct to be useful!
Keep each hands-on session under 15 minutes, returning later for changes that take hours or days. For fair comparisons, change one thing while keeping other conditions alike. Some activities below are observations or models rather than controlled experiments; each one still supports scientific thinking.
Safety first: Supervise throughout. Adults handle knives, rubbing alcohol, hot or very warm water, and very cold mixtures. Science materials are never for tasting, even when they are foods like apples or salt. Small items such as seeds, acorns, and pinecone scales are choking hazards for young children, so keep them out of mouths, follow your program’s materials policies, and wash hands afterward.
Fall Experiments About Changing Leaves
Leaf Chromatography: Find the Hidden Colors
What you need: Fresh green leaves (leaves just starting to change work well), a clear jar, rubbing alcohol, a spoon, a coffee-filter strip, a pencil, tape, and splash goggles for the adult.
Ask first: “Could a green leaf have other colors hiding inside?”
What to do:
- An adult tears and crushes the leaves in the jar, adds just enough rubbing alcohol to cover them, and lets the mixture stand for 30–60 minutes. Cover the jar loosely while it stands.
- Tape the filter strip to the pencil and lay the pencil across the top of the jar so the bottom of the strip just touches the liquid. Keep the setup out of children’s reach.
- Watch over the next hour as liquid travels up the paper. Compare the colors that appear.
What happens and why: Different pigments travel differently through paper. Green chlorophyll can hide yellow and orange pigments; as chlorophyll breaks down in fall, those colors become visible. Red pigments form in some leaves in autumn. Results vary by leaf and filter. If you only see faint green, crush more leaves into less alcohol and let it soak longer.
Safety note: This is an adult demonstration for preschool observers. Rubbing alcohol is flammable and poisonous if swallowed, so adults manage all alcohol, avoid heat and flames, ventilate the area, and pour it out of reach when finished.
Sun vs. Shade Leaf Test
What you need: Two similar fallen leaves from the same tree, two trays, and paper.
Ask first: “Will these leaves change the same way in different places?”
What to do:
- Draw each leaf’s starting appearance.
- Put one tray in a sunny indoor spot and one in shade.
- Compare color, curling, and dryness daily for several days.
What happens and why: Detached leaves lose water and may dry or fade differently. Sunlight and warmth can affect those changes. Explain that this tests fallen leaves; it does not show that shade alone causes autumn color. Shorter days help trigger changes in living trees. If leaves are your theme for the week, our free leaves preschool lesson plans fill in the rest of the week.
Why Do Leaves Fall? Leaf and Twig Observation
What you need: Fallen leaves with stems, fallen twigs, and magnifiers.
Ask first: “Where was this leaf attached to the tree?”
What to do:
- Examine leaf stems and the marks where leaves were attached to twigs.
- Look at a nearby tree without pulling leaves or branches.
- Revisit it weekly and draw what changes.
What happens and why: Many deciduous trees form a separation layer where each leaf joins the twig. The leaf eventually detaches, sometimes helped by wind. Losing leaves helps trees save water during winter. This observation extends the noticing children practice when comparing leaf colors and shapes.
Fall Experiments About Cooler Weather
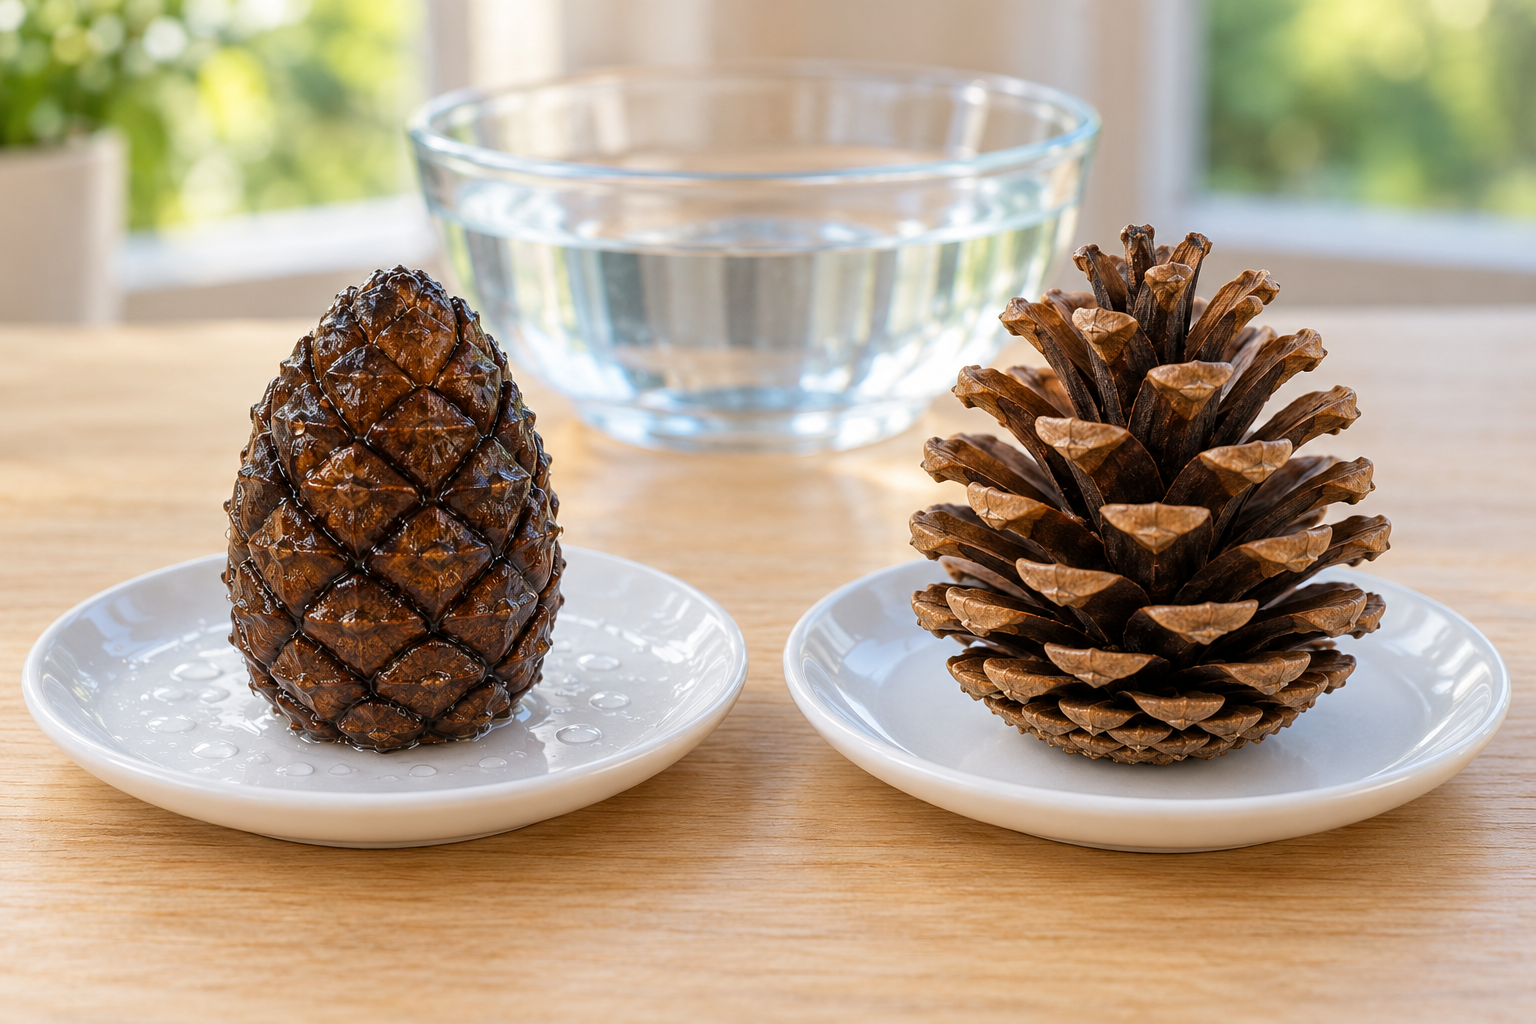
Pinecone Weather Experiment
What you need: Two similar open, brown pinecones, a bowl of room-temperature water, and a tray.
Ask first: “What might happen when a pinecone gets wet?”
What to do:
- Photograph both pinecones before starting.
- Put one in water and leave the other dry. Compare after 30 minutes and again after a few hours.
- Let the wet pinecone air-dry for a day or two and look again.
What happens and why: Many mature pinecones close when wet and reopen as they dry. Their scales respond to moisture, which helps the tree release seeds on dry days when they can travel farther. This explores moisture rather than temperature, connecting with rainy fall weather and seeds moving into the environment. Tightly closed green cones won’t show the change, so use open, dry ones. Watch for loose scales and seeds that little ones might put in their mouths.
Make Frost in a Can
What you need: A clean metal can with a safe rim, crushed ice, about four tablespoons of salt, a spoon, and a tray.
Ask first: “Can we make something like frosty grass indoors?”
What to do:
- An adult fills the can with crushed ice, mixes in the salt, and stirs for about 30 seconds.
- Set it on the tray and watch the outside for 5–10 minutes.
- Look for droplets or a white coating. Children look but do not touch the cold metal or mixture, and nobody tastes the salt.
What happens and why: Salt helps create an ice-water mixture colder than plain melting ice. Water vapor from the air can freeze onto the very cold can, much as frost forms on cold outdoor surfaces. Dry indoor air may produce little visible frost; talk about what you actually see. Droplets alone are still a useful result: that’s the same water from the air that becomes dew on fall mornings.
Warm Hands vs. Cold Hands Thermometer Test
What you need: Three bowls containing comfortably warm, cool, and room-temperature water, plus a water-safe thermometer.
Ask first: “Can the same water feel different to each hand?”
What to do:
- An adult prepares the bowls and checks every temperature first. The warm bowl should feel like comfortable bath water, never hot.
- Children briefly place one hand in warm water and the other in cool water.
- Move both hands into the room-temperature bowl. Compare sensations, then measure that water.
What happens and why: Hands can experience the same water differently because of what they felt before. A thermometer helps us compare temperature consistently. Connect this with checking outdoor temperatures on cool autumn mornings rather than relying only on how the air feels.
Fall Experiments About Plants and Seeds
Pumpkin Decomposition Jar
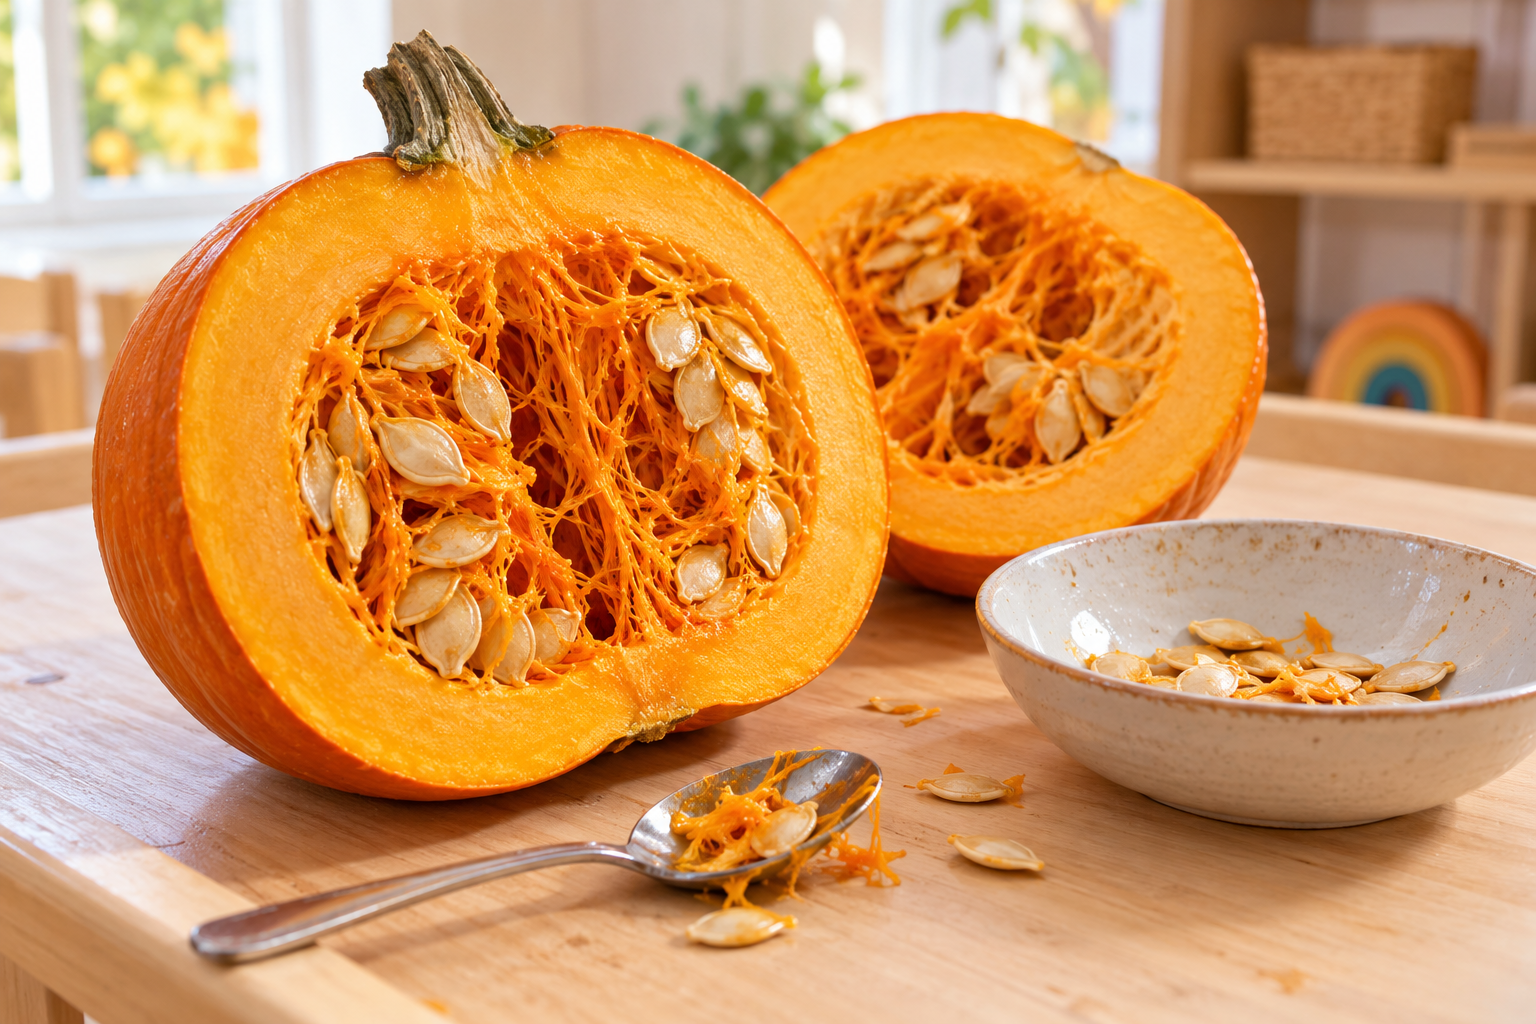
When we explored pumpkins in my classroom, we started by feeling the insides. Then we watched the pumpkin over the following days. The children noticed that it became mushy and its smell changed, too. Those observations provide a concrete starting point for talking about decomposition.
What you need: A small piece of fresh pumpkin, a clear plastic jar with a lid, tape, a tray, and drawing paper.
Ask first: “Will this pumpkin stay the same all week?”
What to do:
- An adult cuts the pumpkin. Explore fresh pieces, then wash hands.
- Place a small piece in the jar, close the lid, tape it shut, and keep it in a secure observation spot away from food.
- Draw changes through the container over several days. Once decay begins, keep it closed; an adult disposes of it promptly, without opening it, if leaking, swelling, or damage occurs.
What happens and why: Tiny living things called microorganisms help break down pumpkins and fallen leaves. Outdoors, decomposition returns nutrients to soil. Children may see softening, liquid, or mold; do not open the jar to smell or touch decaying material, since mold can bother people with allergies or asthma. Keep the pumpkin theme going with these hands-on pumpkin activities for preschool.
Why Do Apples Turn Brown?
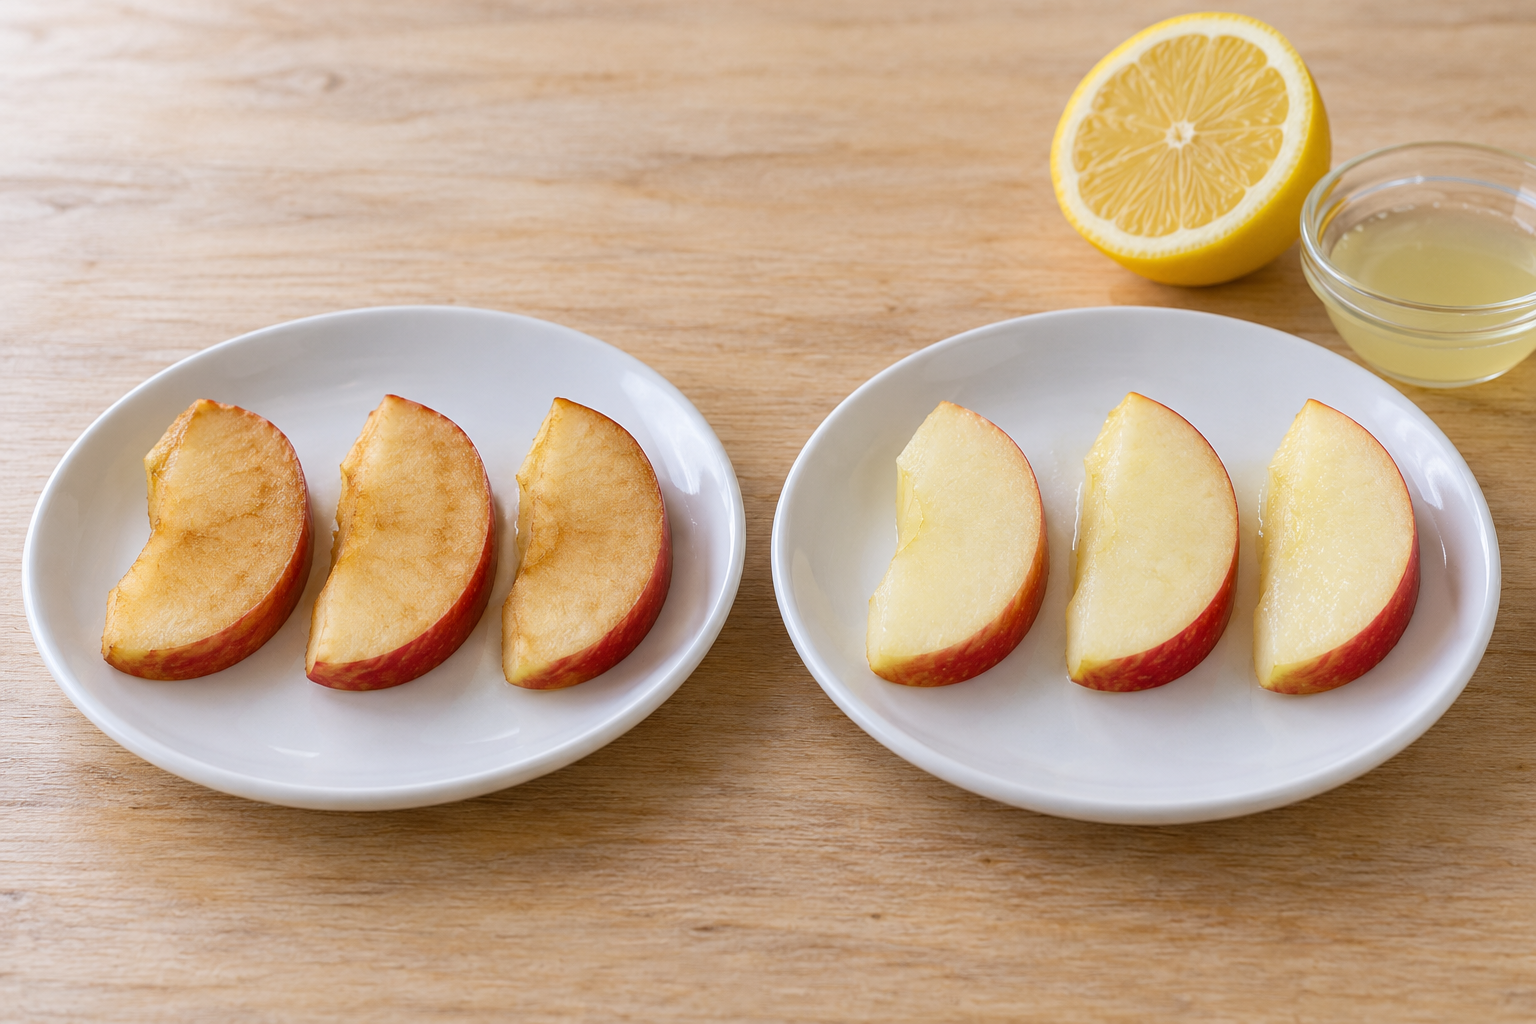
What you need: An apple, lemon juice, two plates, and a knife for adult use.
Ask first: “Which apple slice will turn brown first?”
What to do:
- An adult cuts two similar slices from the same apple.
- Coat one with lemon juice and leave the other untreated.
- Keep both in the same place. Compare after 10 minutes, 30 minutes, and an hour.
What happens and why: Cutting exposes apple tissue to oxygen in the air, which starts a browning reaction. Lemon juice coats the slice and slows that reaction down. This connects a familiar fall harvest food with observable change; browning alone does not mean an apple is rotting. Treat the test slices as science materials, not snack, and serve a fresh apple afterward if children want a taste. Find more ideas in these hands-on apple activities for preschoolers.
Apple and Pumpkin Seed Sprouting
What you need: Raw (not roasted) pumpkin seeds, apple seeds, damp paper towels, labeled zip-top clear bags, and a refrigerator.
Ask first: “Will both kinds of seeds start growing at the same time?”
What to do:
- Place each seed type in a separate bag with a damp, not dripping, towel, and seal the bags.
- Keep pumpkin seeds in a warm spot and check daily for one to two weeks.
- An adult refrigerates the apple-seed bag, checking weekly. Many apple seeds need roughly two to three months of moist chilling before warmth encourages sprouting.
What happens and why: Seeds need suitable moisture, air, and temperatures. This is a long-term observation, not a fair speed comparison, because the two seed types get different treatments. Cold requirements help explain why some seeds released in fall wait until after winter to grow. Seeds are choking hazards, so an adult places them in the bags and keeps the bags sealed; apple seeds should never be eaten. Discard moldy seeds without opening the bag.
Fall Experiments About Animals Getting Ready for Winter
Squirrel Acorn Hide and Seek Memory Experiment
What you need: Five large paper acorns and several hiding places. (Paper acorns are safer than real ones, which are a choking hazard.)
Ask first: “How many food hiding places can you remember?”
What to do:
- Let children hide the paper acorns in a defined area.
- After five minutes, invite them to find the acorns without clues.
- Repeat with a picture map and compare how many they find.
What happens and why: This memory model connects with squirrels storing food for times when food is scarce. Remembering locations helps them recover stored food. Children’s results do not measure squirrel memory, and forgotten real acorns may eventually grow into trees.
How Do Animals Stay Warm? Insulation Test
What you need: Two identical lidded containers, equal amounts of warm water, a thermometer, and wool fabric or fleece.
Ask first: “Will a covering help the water stay warm longer?”
What to do:
- An adult adds equal amounts of comfortably warm (not hot) water at the same temperature to both containers.
- Wrap one container in fabric, leaving the other uncovered.
- Measure both after 10 and 20 minutes in the same location.
What happens and why: Insulation slows heat loss. Fur and feathers trap air that helps animals hold onto body heat in cooler weather; the fabric is a simple model. Some animals also hibernate, and these hibernation activities for preschoolers cover that topic.
Tips for Fall Science with Preschoolers
Start outdoors and collect permitted materials together. Our secret garden visit began with noticing leaves; the collage gave children another opportunity to examine them. Your first investigation might begin with a leaf, a fallen seed, or a question about the weather.
Choose one or two easy fall science experiments rather than rushing through the list. Let children draw predictions, dictate observations, and repeat favorites. These autumn experiments for kids work best when adults allow time for unexpected results.
If you are planning a longer unit on seasonal changes, our preschool seasons and weather lesson plans and seasons preschool lesson plans for every season pair well with these experiments, and fun fall themes for preschool can help you pick a theme for each week.
Want children to keep exploring on their own after an experiment? Leave the materials out in a fall science center for preschoolers, add pinecones, gourds, and scales with these fall science center ideas for exploring nature, or swap leaves for a sunflower science center.
Free Printable Fall Experiment Recording Sheets
Give children a place to record their discoveries with a predict-and-draw sheet for each investigation and a Signs of Fall observation checklist. Children can draw what they think will happen, record what they notice, and tell an adult what changed. Use the checklist on a neighborhood walk or return to the same outdoor spot each week.
Pick one experiment to try this week, maybe the pinecones or the apple slices, and see what your preschoolers notice. Tell us in the comments which one surprised your kids the most!
Fall Experiments for Preschoolers FAQs
Start with what children can see and feel, then return to the same spot over several weeks so they can compare. Picking one “class tree” and taking a photo of it each week works well, because preschoolers understand change best when they can put two pictures side by side. Keep the words simple and concrete: “The days are shorter, so the tree is getting ready to rest.” Avoid introducing Earth’s tilt at this age; that idea is too abstract for most 3- to 5-year-olds.
The pinecone experiment is one of the easiest because it needs only two pinecones and a bowl of water, and there is nothing hazardous to manage beyond small loose scales. Children can do every step themselves, and the change is big enough to see within a few hours. It also works as a repeat experiment: you can wet and dry the same pinecone again and again, which lets children test whether their prediction holds up a second time.
As days shorten, many trees stop making green chlorophyll, so the yellow and orange pigments that were there all along show through. Reds and purples are different: some trees, like many maples, make those pigments new in fall. Sunny days and cool (but not freezing) nights tend to produce the brightest reds, which is why fall color can be stronger some years than others.
Different animals prepare in different ways. Squirrels and chipmunks store food, many birds and some butterflies migrate to warmer places, and animals like bears and some bats hibernate. Others, like deer and foxes, grow thicker winter coats and stay active all season. Invite children to look for evidence nearby, such as squirrels carrying nuts or birds flying in groups, and predict what they might notice next.
That is still science, and it is often the best part for preschoolers. Ask children what they think happened and whether anything was different this time, such as the type of leaf, the weather, or how long you waited. Then try it again with one change. Showing children that adults also make predictions that turn out wrong helps them feel confident guessing.